Tip: Categories are used to organise posts into groups. Using categories, you can divide the content of your website into different sections, depending on the categories you create.
Examples of categories include:
- Teams
- Councillors
- Latest News
- National News
1. Navigate to your dashboard.

2. Use the navigation bar on the left-hand side of the screen, and hover over "Posts' and choose "Categories".

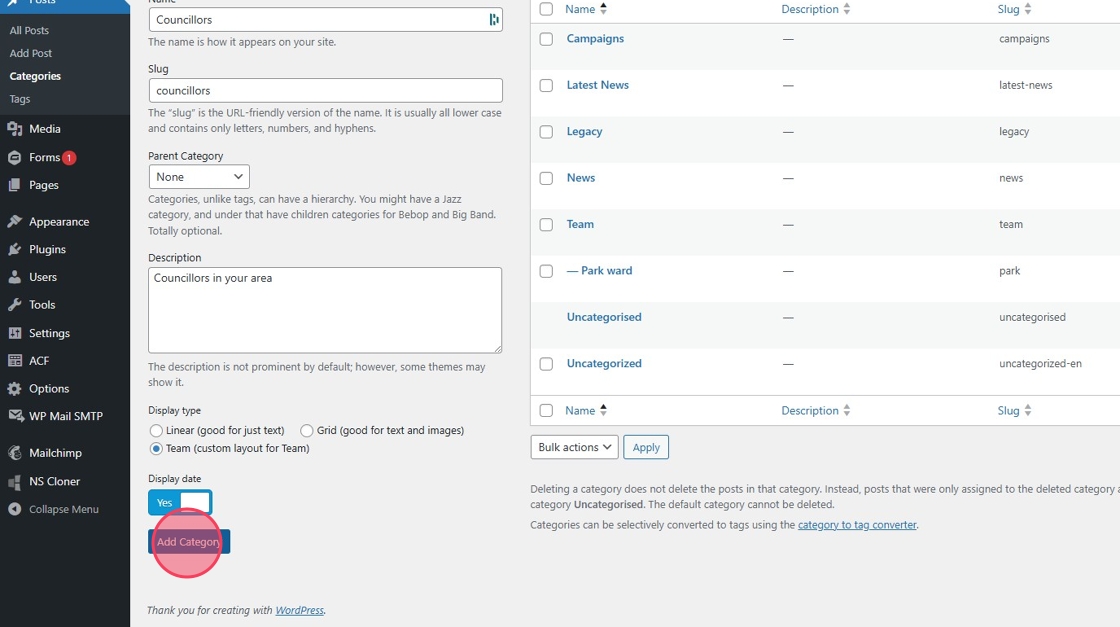
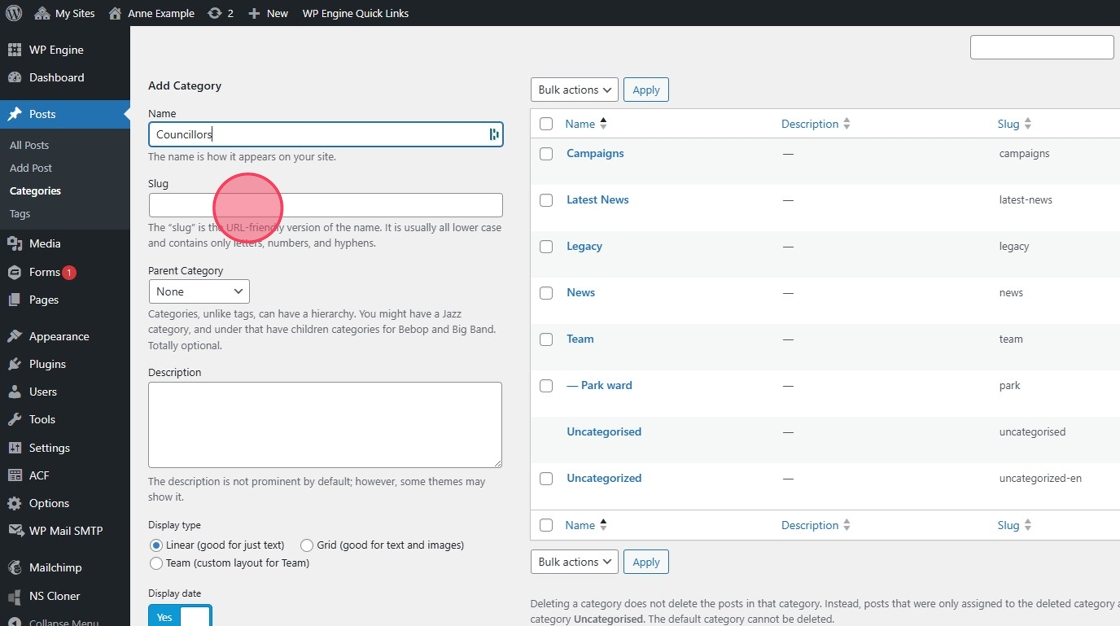
3. Firstly, enter your category name into the field labelled "Name".

4. When you create a category, you can view all the posts in that category by visiting its URL. WordPress will automatically create a URL for your category based on the category name. However, if you want to specify your own URL you can do so by entering one into the field labelled "Slug". As URL’s cannot include spaces, all spaces will automatically be replaced by hyphens. An example of a slug would be "News" so the URL would be "anneexample.co.uk/news"
5. You can also create a hierarchy of categories. To create a hierarchy, click on the dropdown labelled ‘Parent Category’ and choose the category you wish to make the ‘parent’. The category you are creating will then become the ‘child’ of your ‘parent’ category. This is Optional, if you do not with your category to have a Parent leave as "None"

6. If you wish to add a description, do so in the text box labelled "Description". Descriptions are not required

7. You can then select your "Display Type."
Linear - Good for text only posts, such as blog posts.
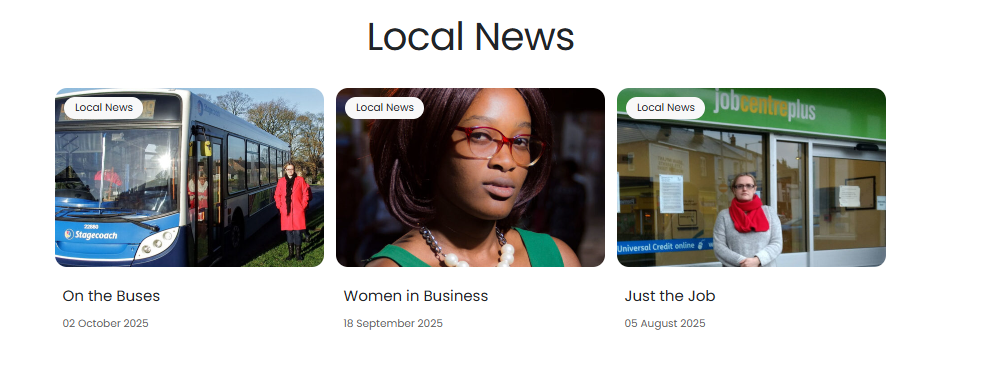
Grid - Good for News Articles.
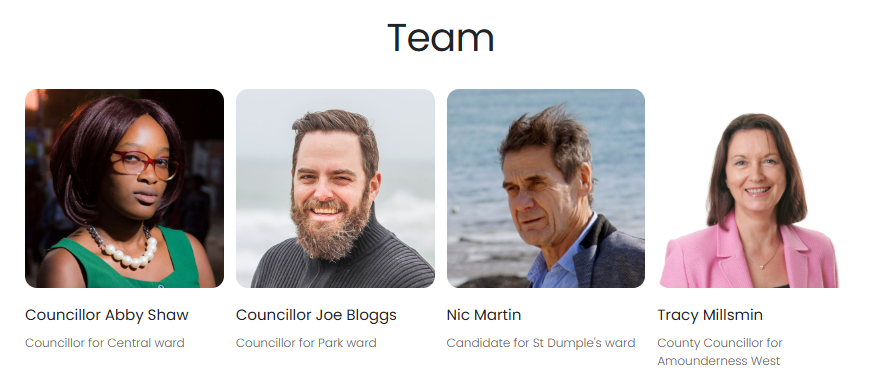
Team - Good for person Profiles.

8. Turning the "Display Date" on will show the dates of your posts within this category.

9. Click "Add Category"