Forms can be created on WordPress for various reasons such as Contact Forms, Newsletter Sign Ups and Surveys.
TABLE OF CONTENTS
Setting Up a Form
Creating a Form
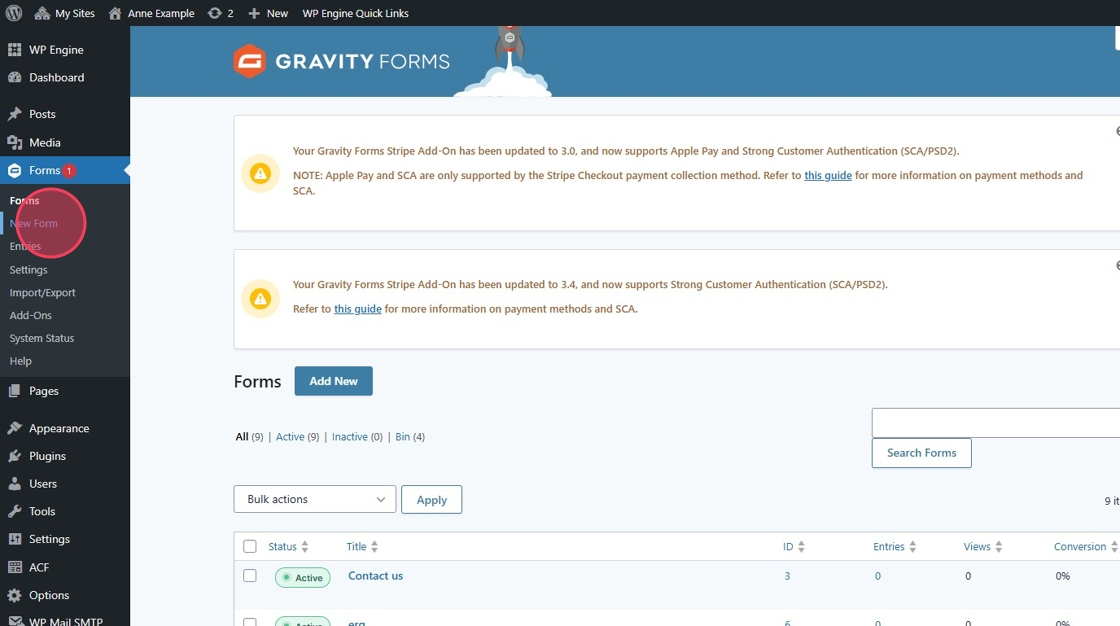
1. Select "Forms" from your left hand menu.

2. Click "New Form"
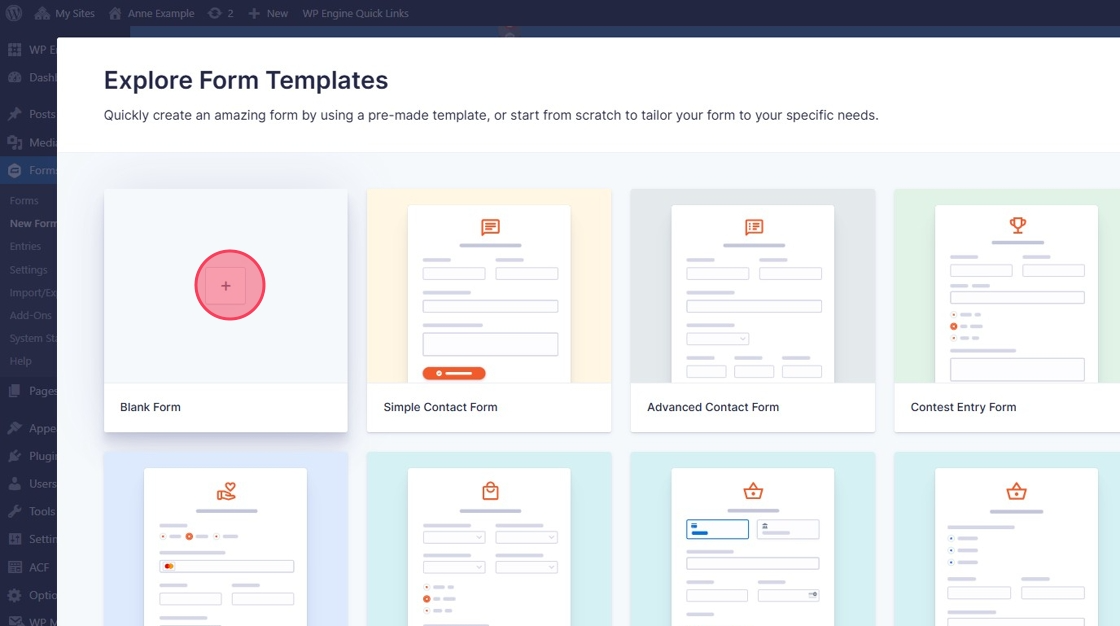
3. There are various template which you can chose from.
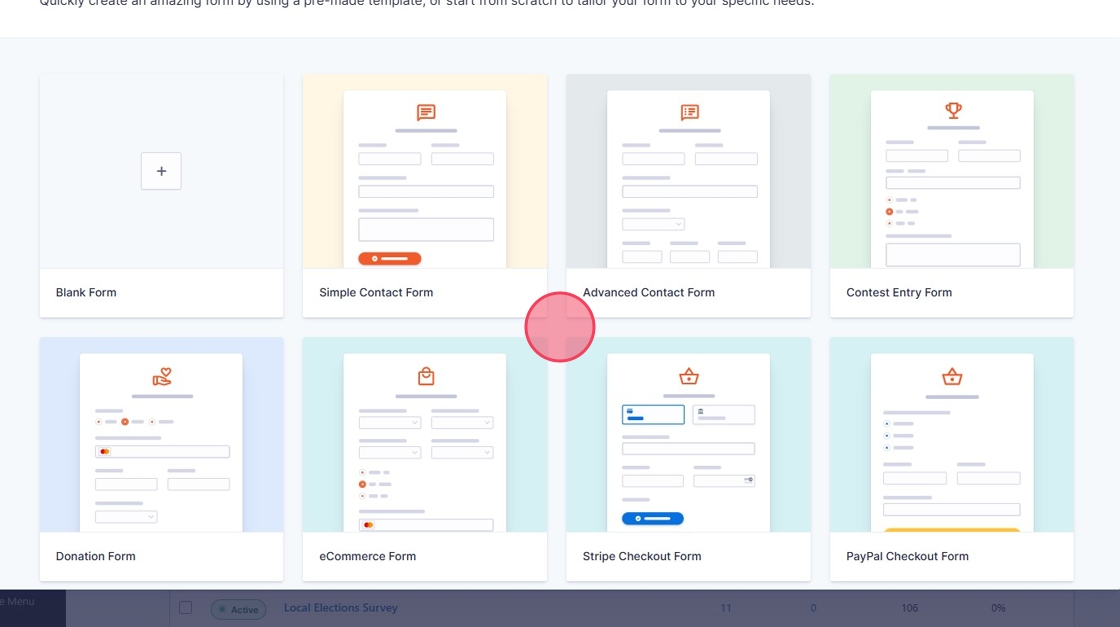
4. To start a form from new, click "Blank Form"
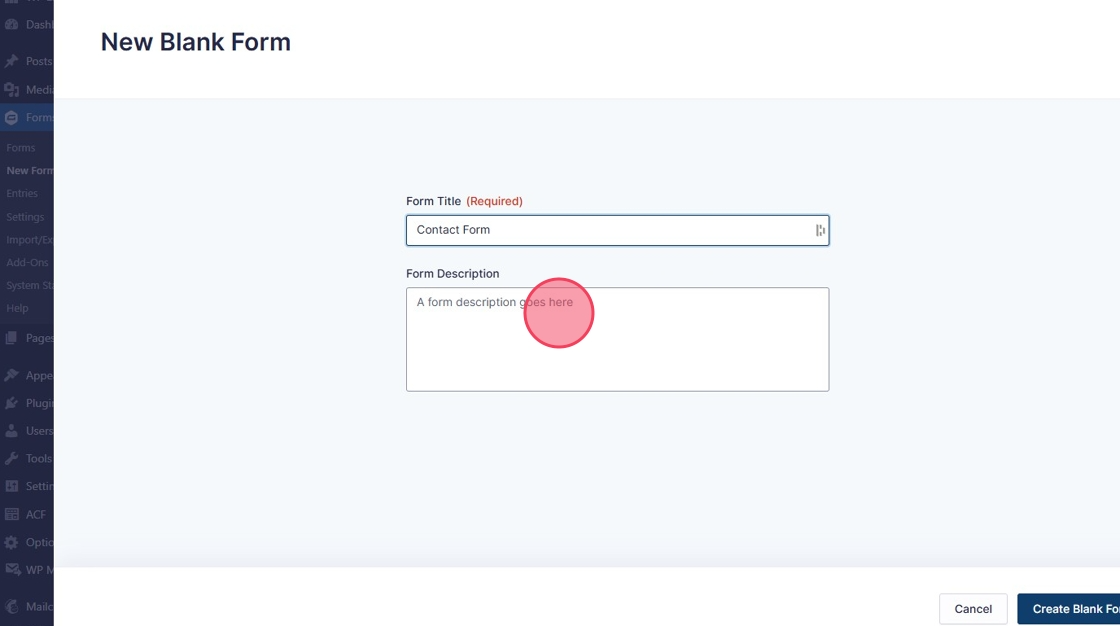
5. Enter the name and description for your form.
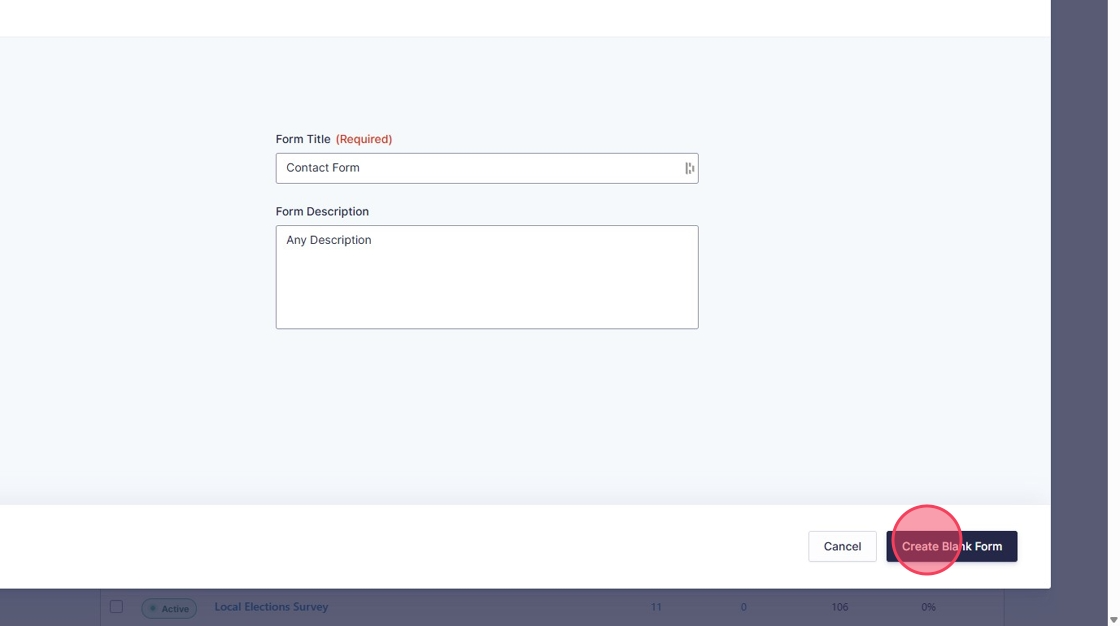
6. Click "Create Blank Form"
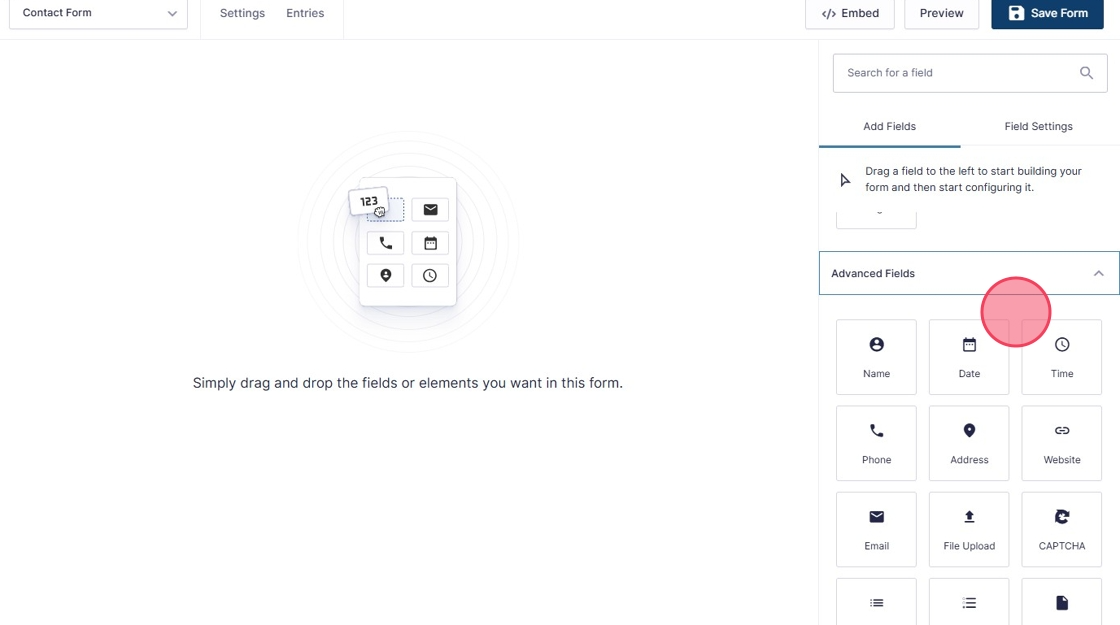
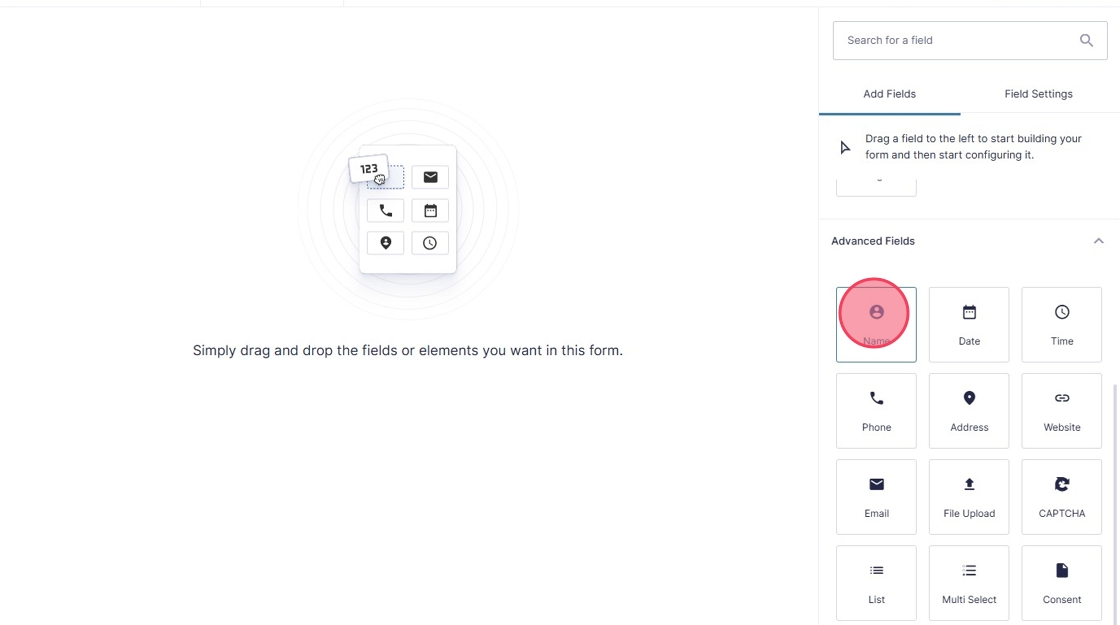
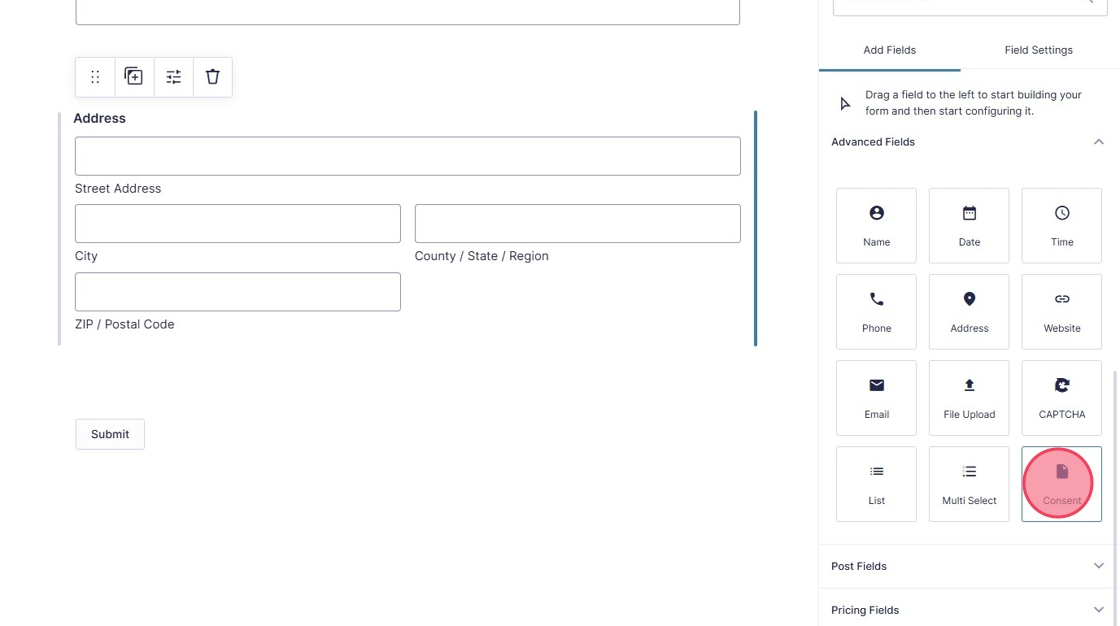
7. There are many fields you can use in your form. They are shown within the standard and advanced field selectors.
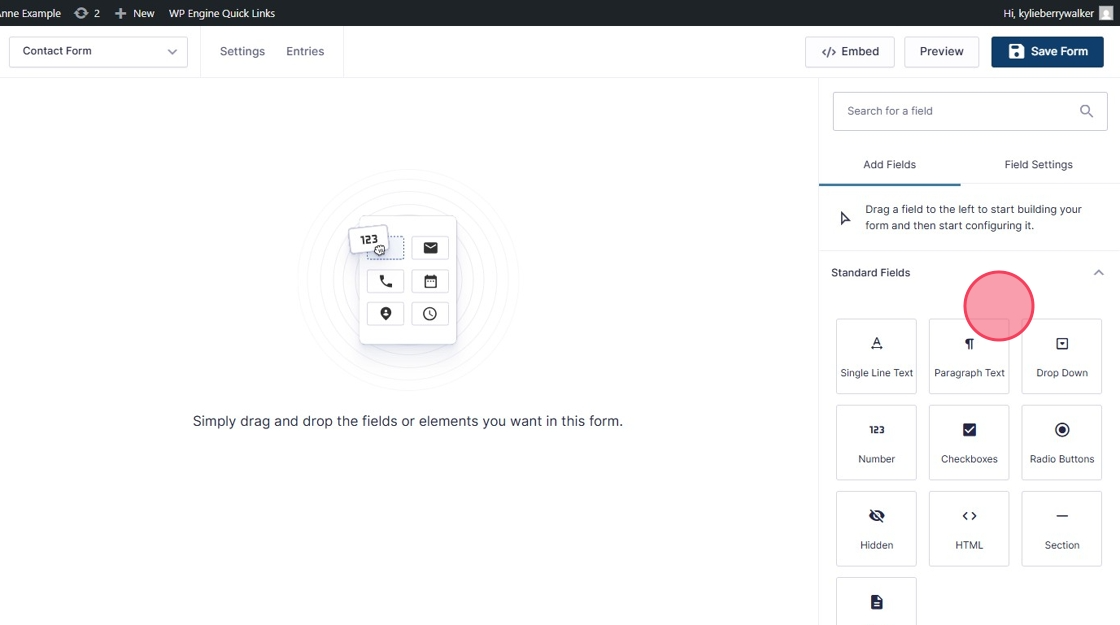
8. To Add a field, simply double click to add to the bottom of you're form or drag and drop into the correct position.
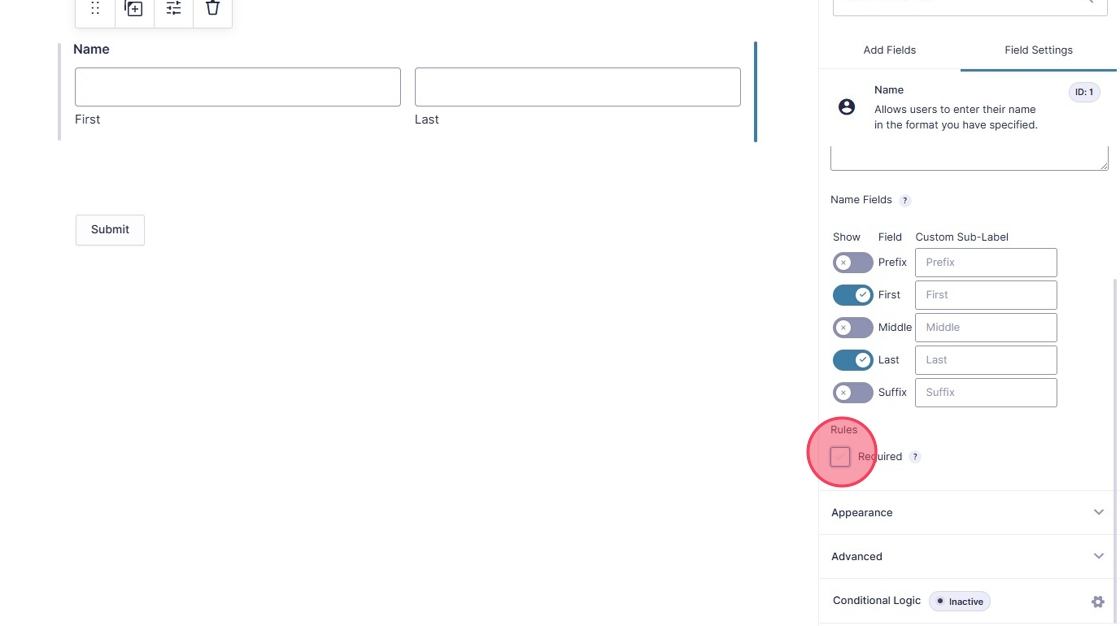
9. To make changes to any of the fields you click on the field and the "Field Settings" Panel will open to the left.
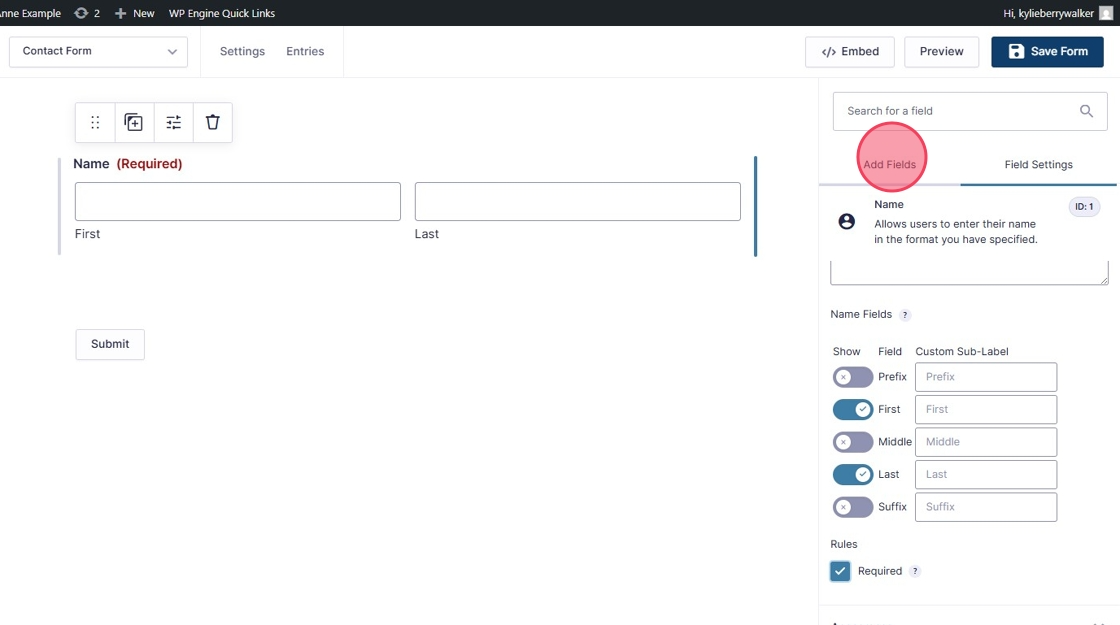
Here you can make changes to the fields, change the name, add and remove options and add rules such as "Required"
You can also add the certain logic to your question. Such as not displaying a question unless the previous question is answered.
10. To add another field click the "Add Fields" Tab.
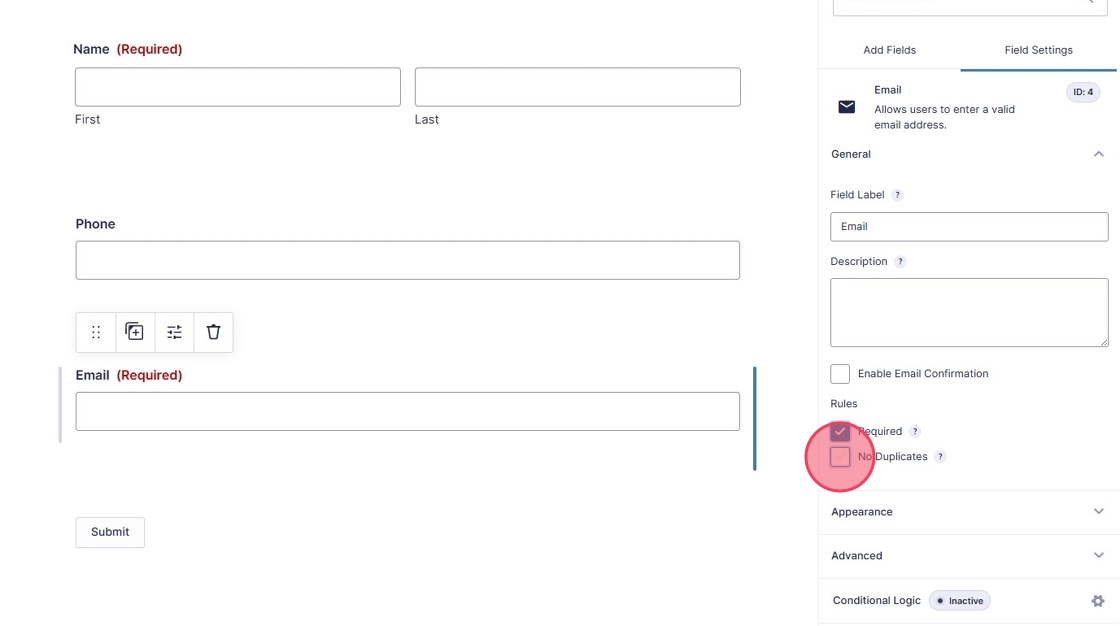
11. On certain fields you can add the rule "No Duplicates." This will prevent anyone responding more than once.
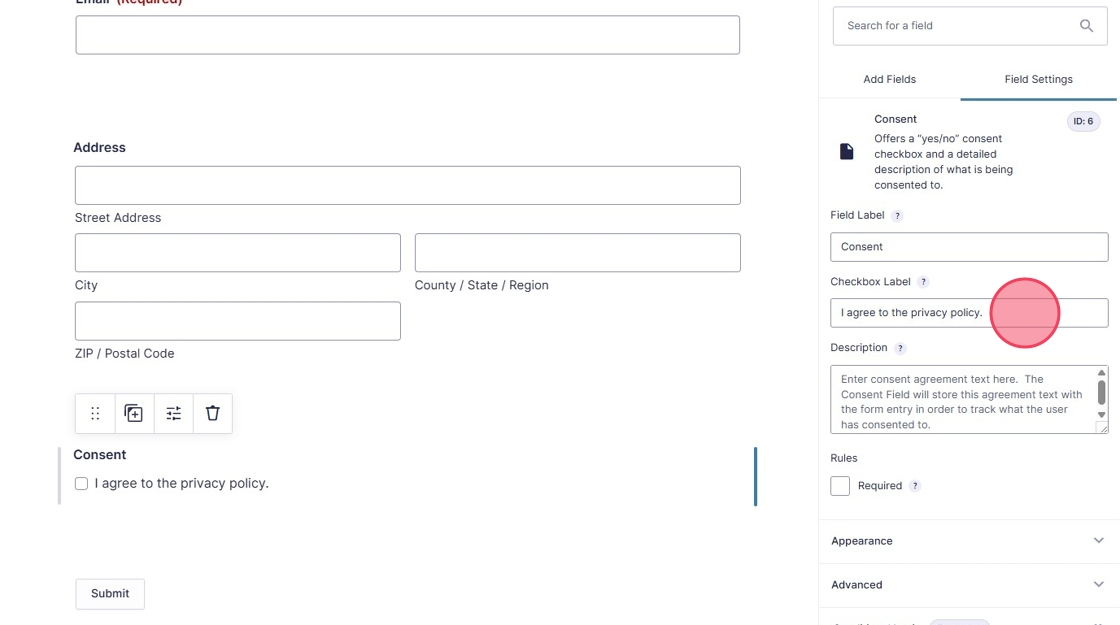
12. You can also add "Consent" tick boxes.
13. This should be changed the reflect the type of consent you are requesting.
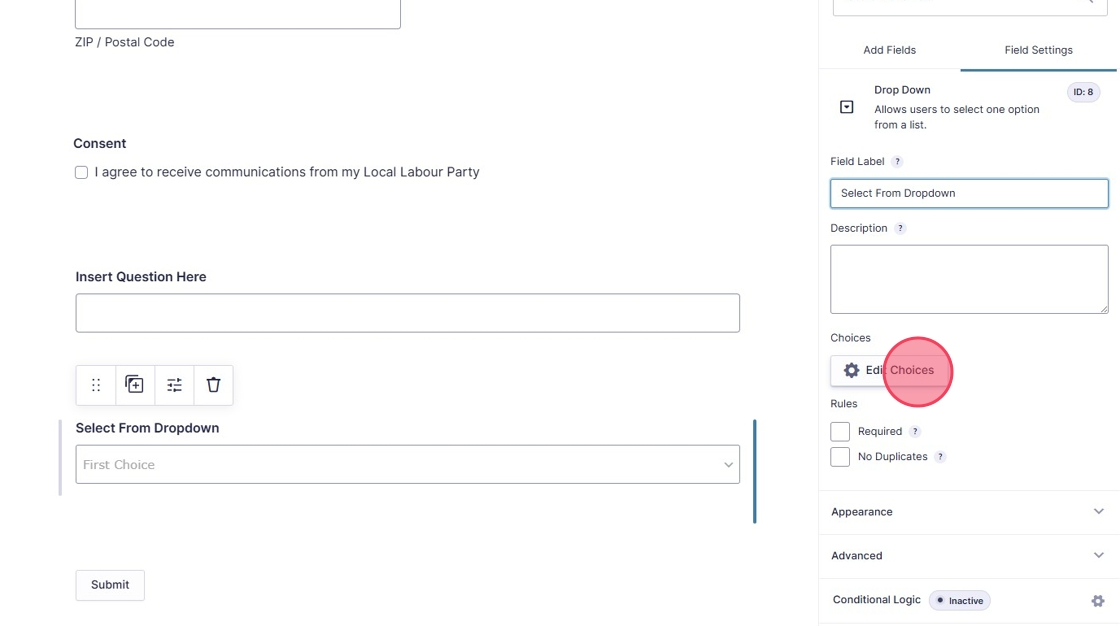
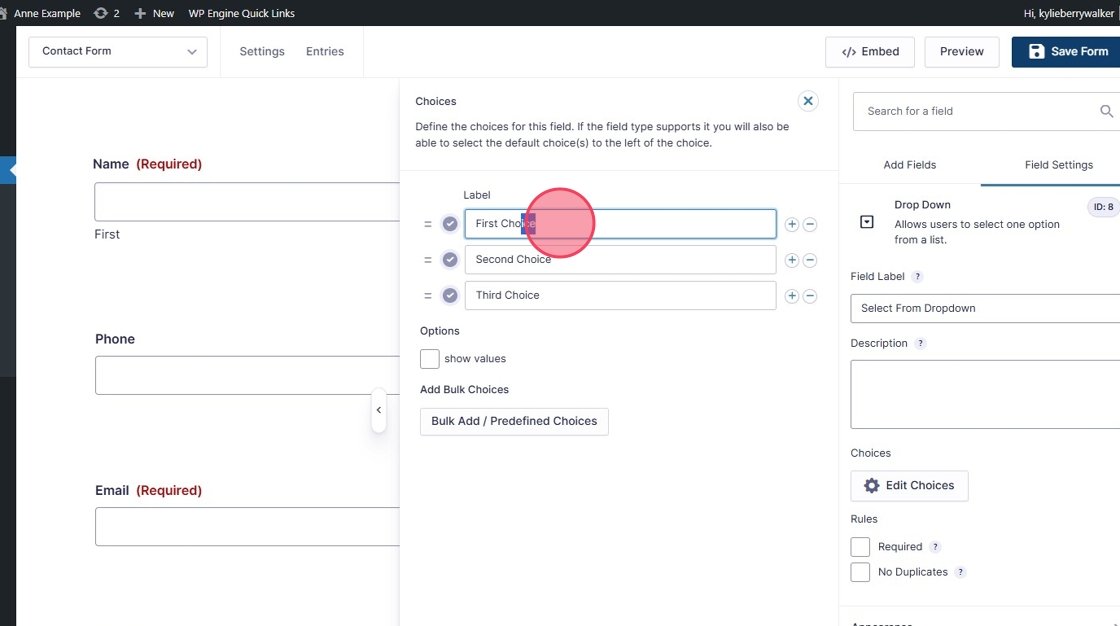
14. If you select any questions with multiple choices, you may need to edit theses choices, to do this you can select "Edit Choices" in the right hand panel.
15. A new box will open, where you can add your new choices.
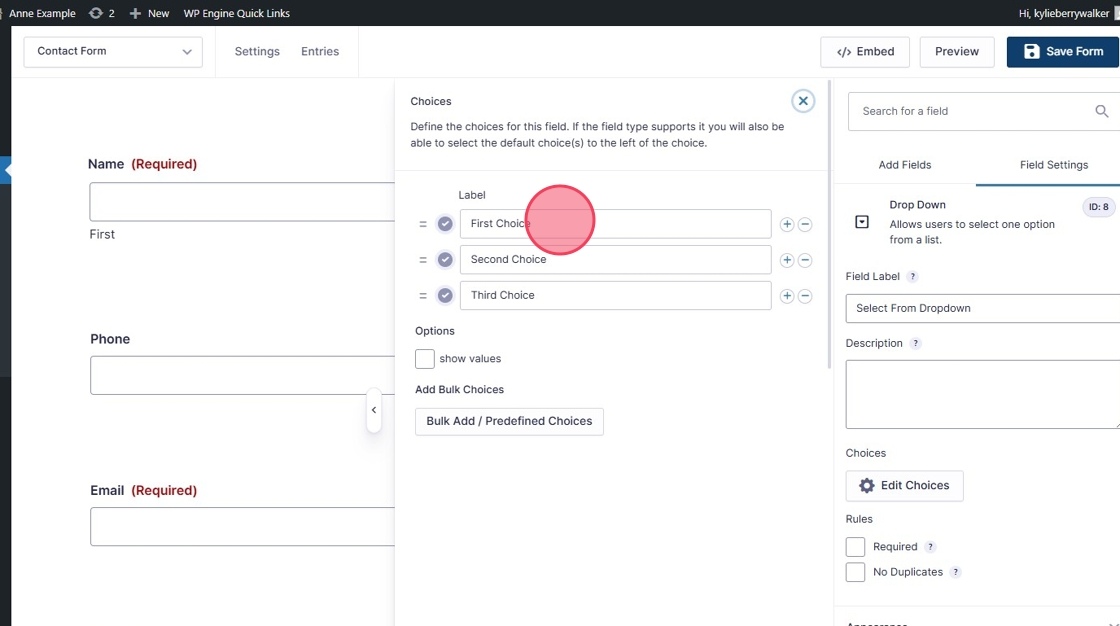
16. Click this text field.
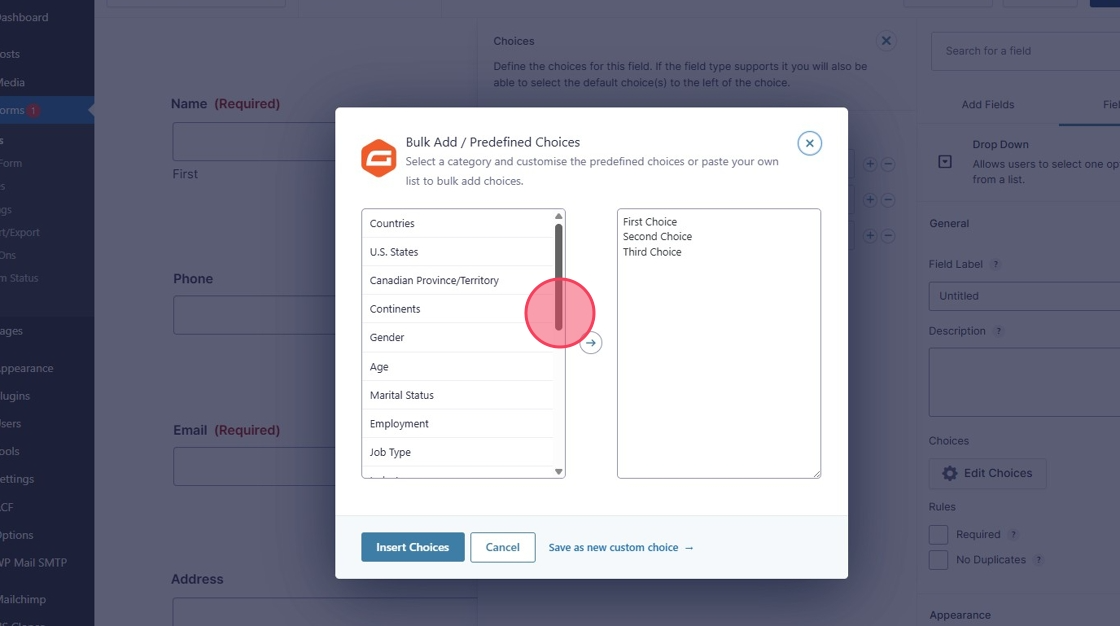
17. There are some Bulk and Predefined choices which are available for you to use.
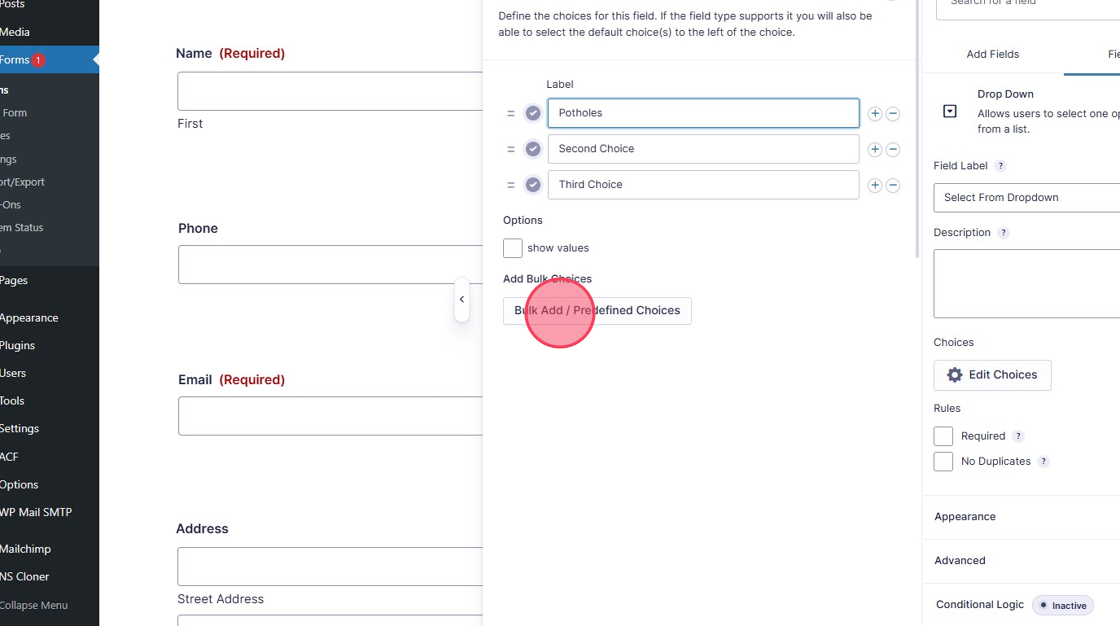
18.
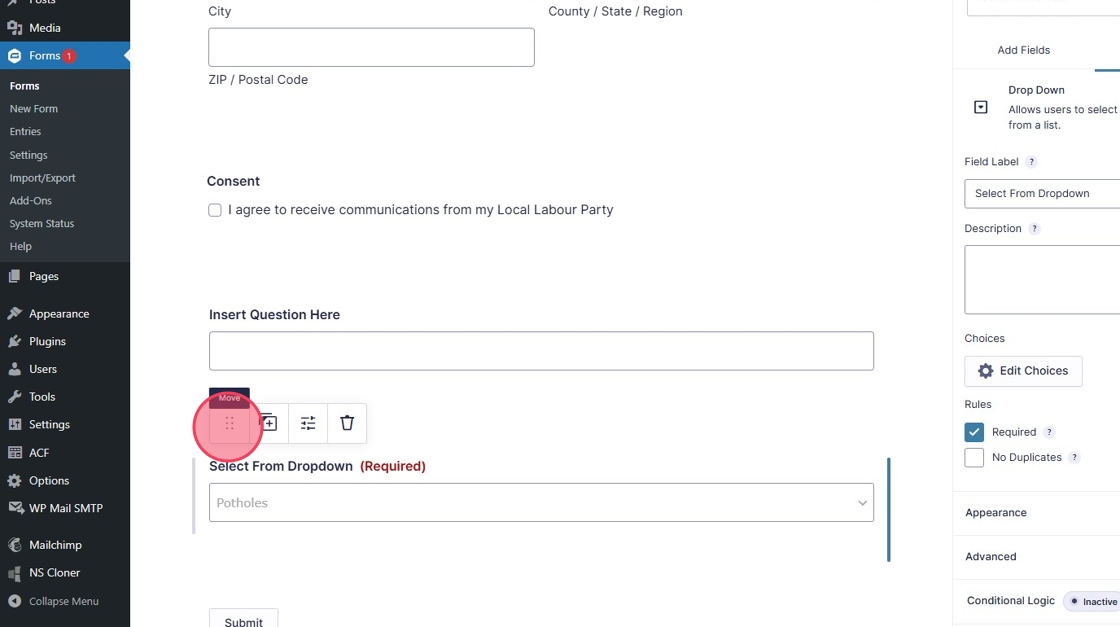
19. To move your questions within the form, simply click the 6 dots above the question and drag into position.
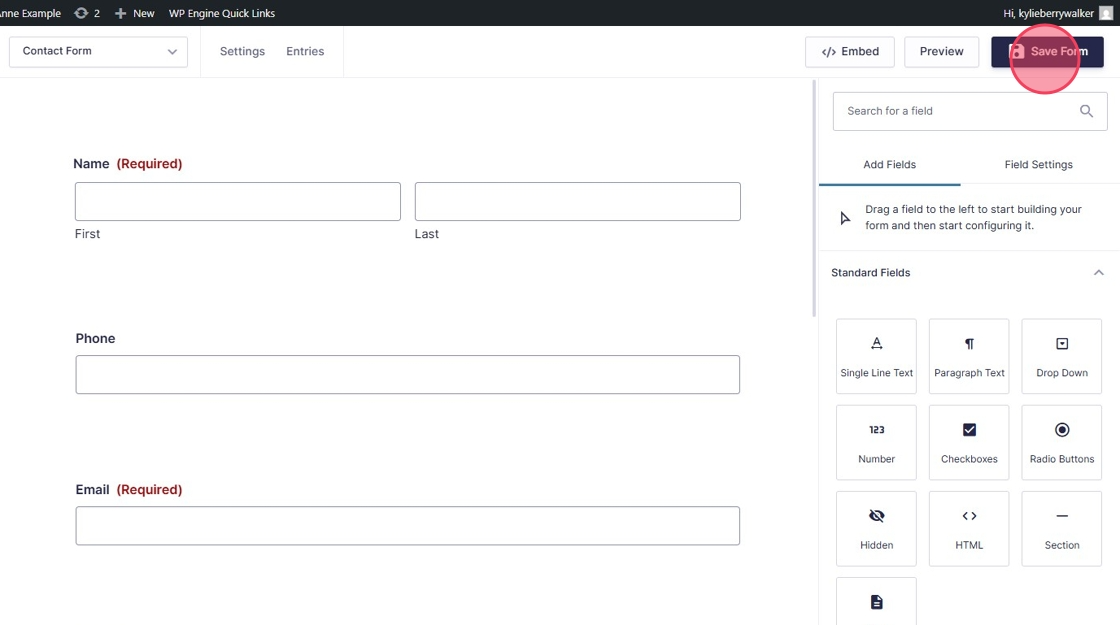
20. Once you have completed your form click "Save Form"
Updating Form Settings
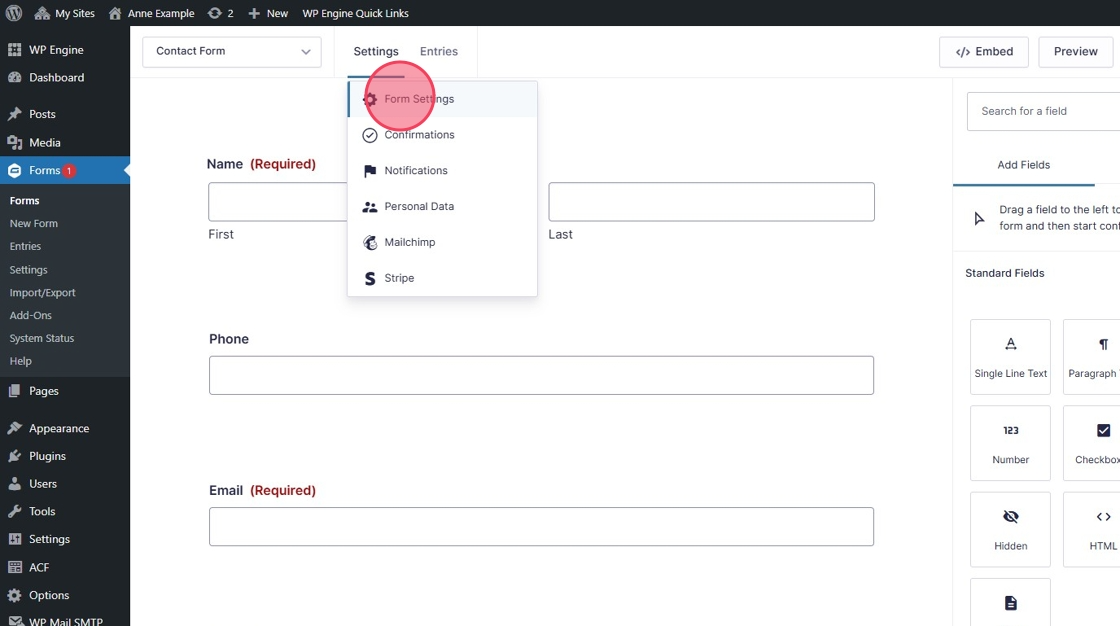
21. Click "Settings"
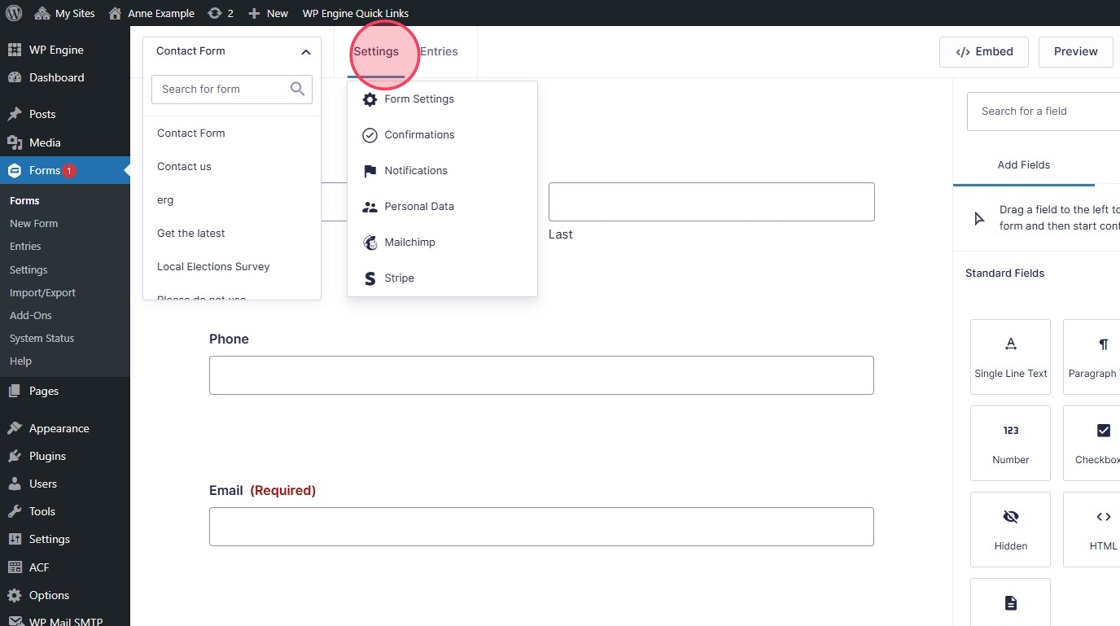
22. Click "Form Settings"
23. Here you can "Enable Save and Continue"
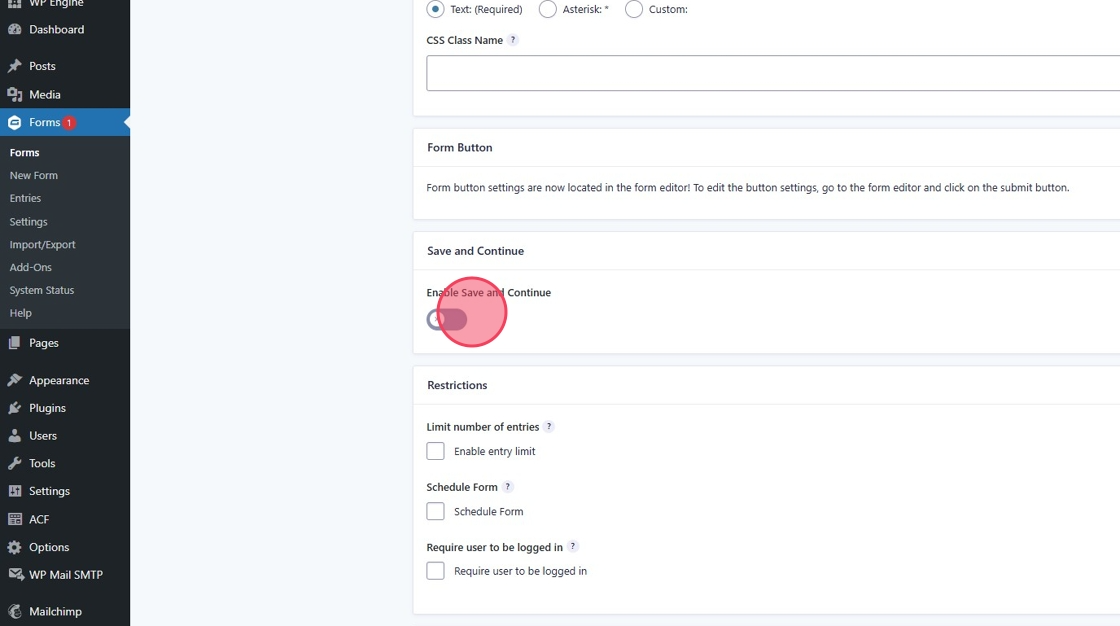
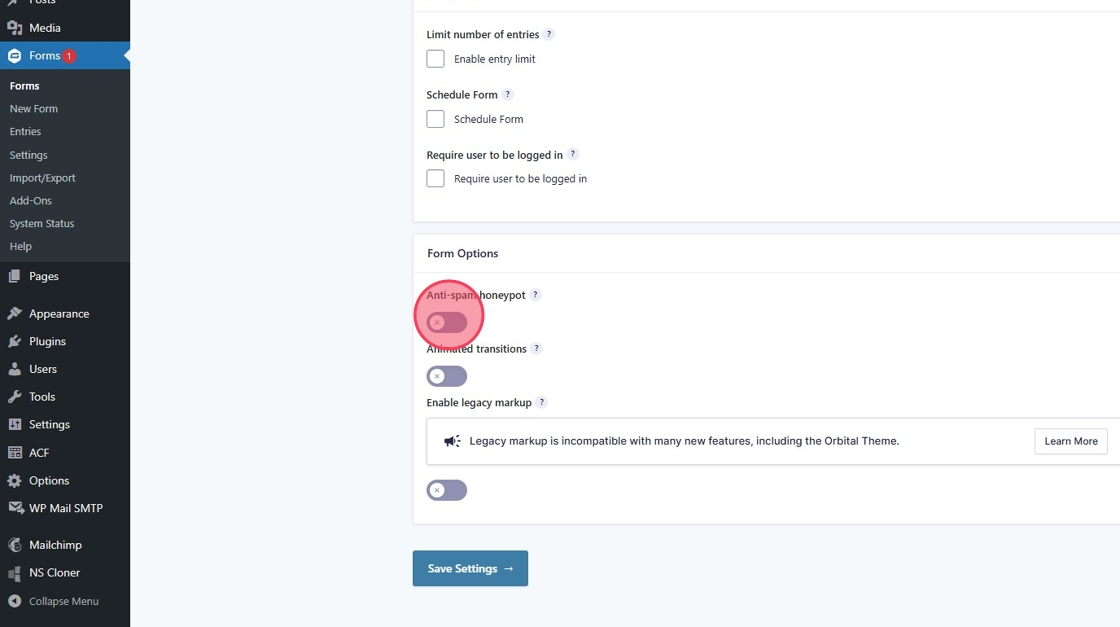
24. To turn on the anti spam filter toggle on the "Anti Spam Honeypot" switch.
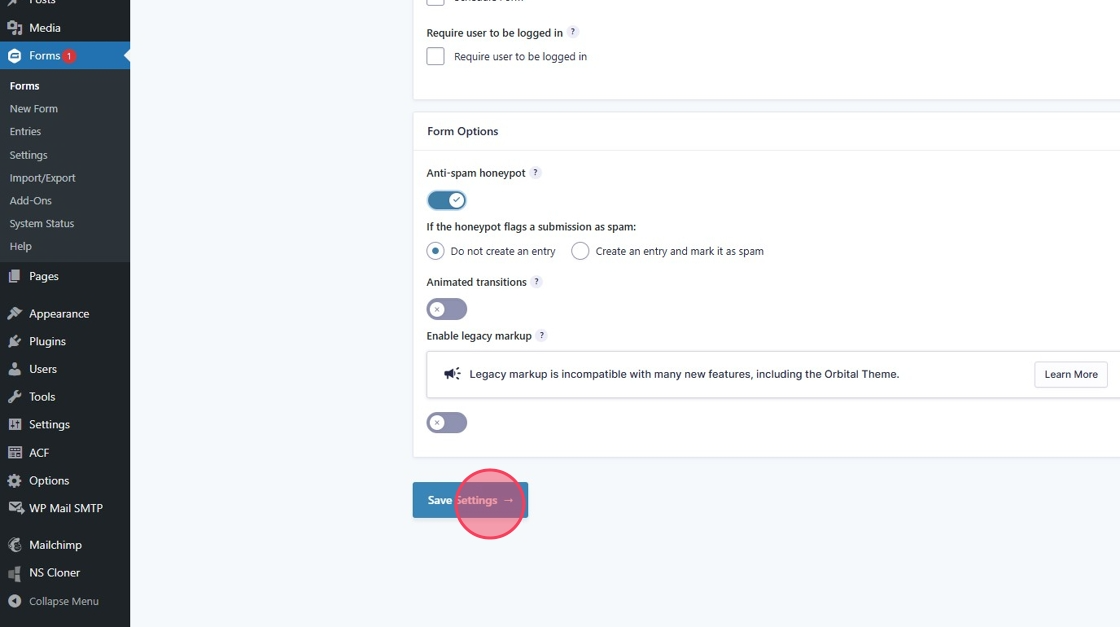
25. Remember to "Save Settings"
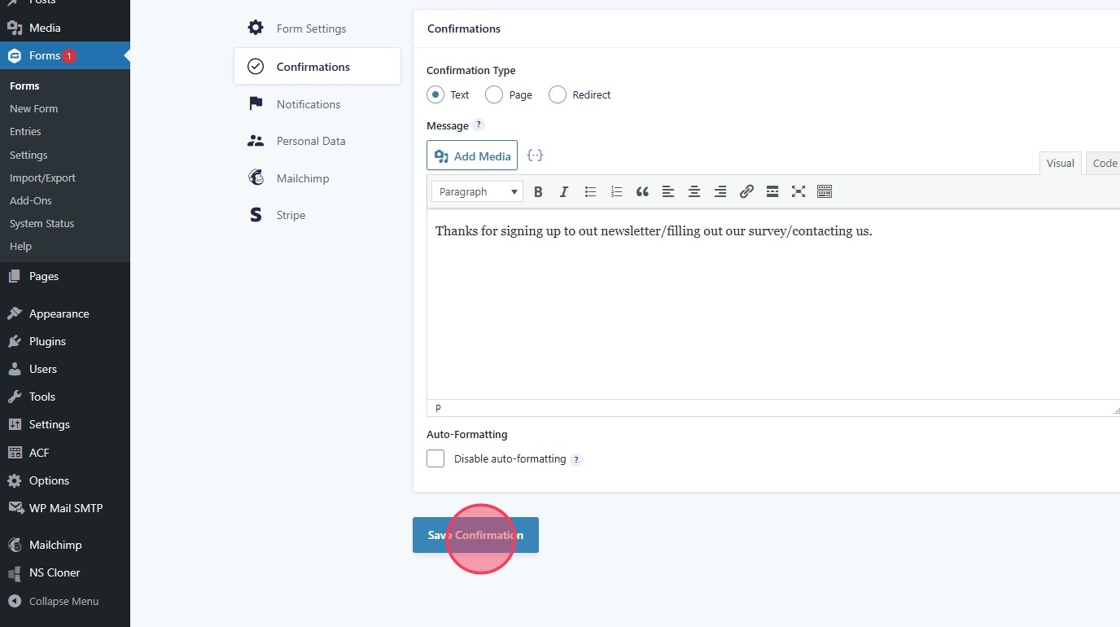
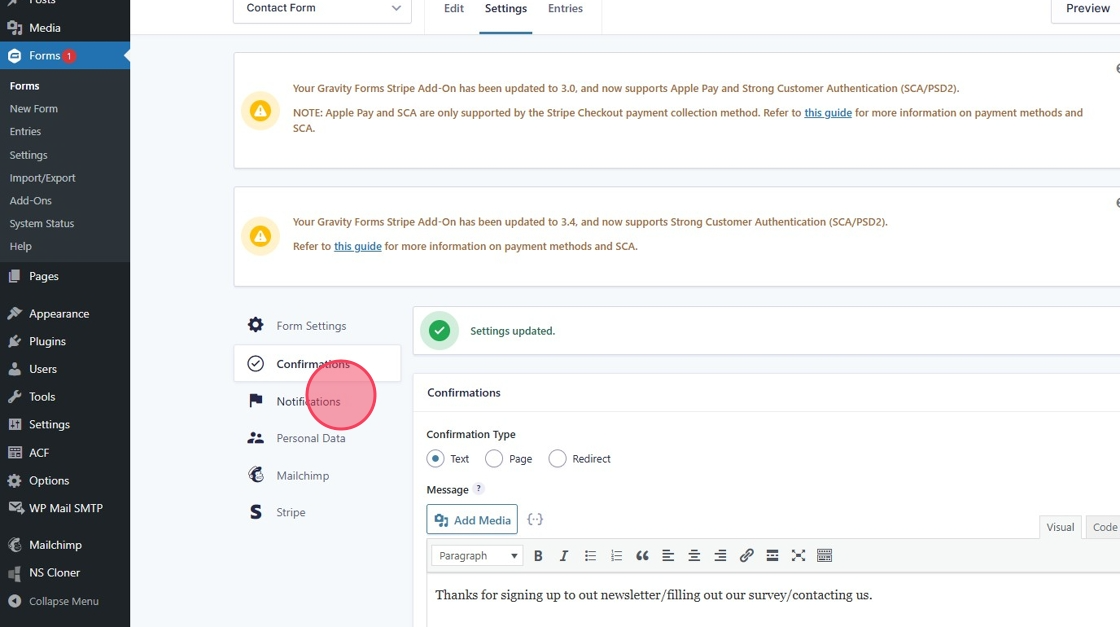
Updating Confirmation Email Settings
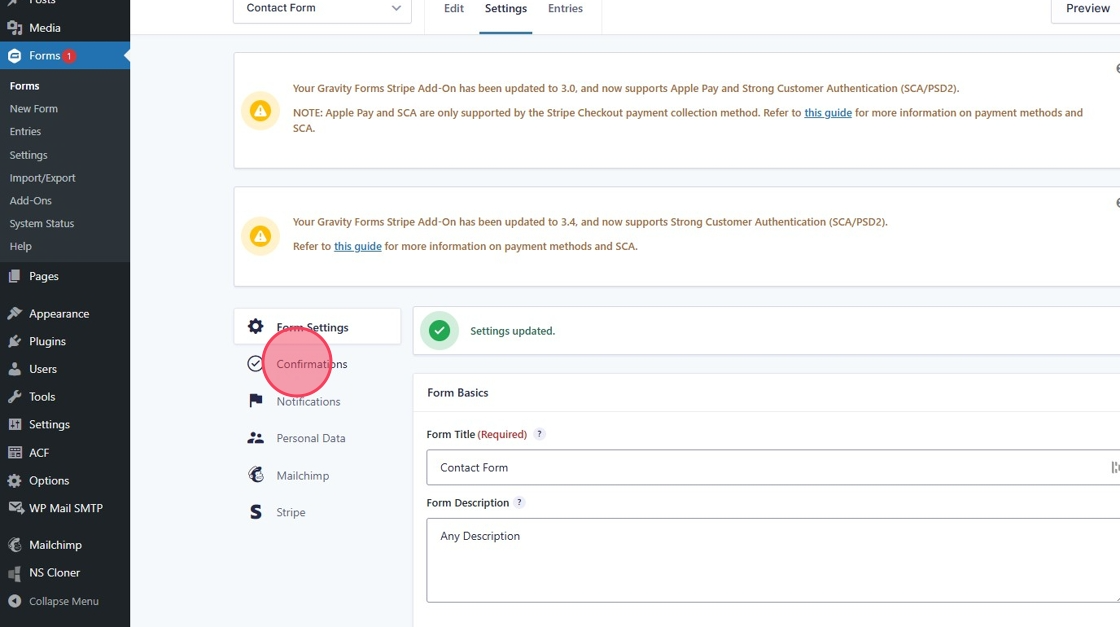
26. Click "Confirmations"
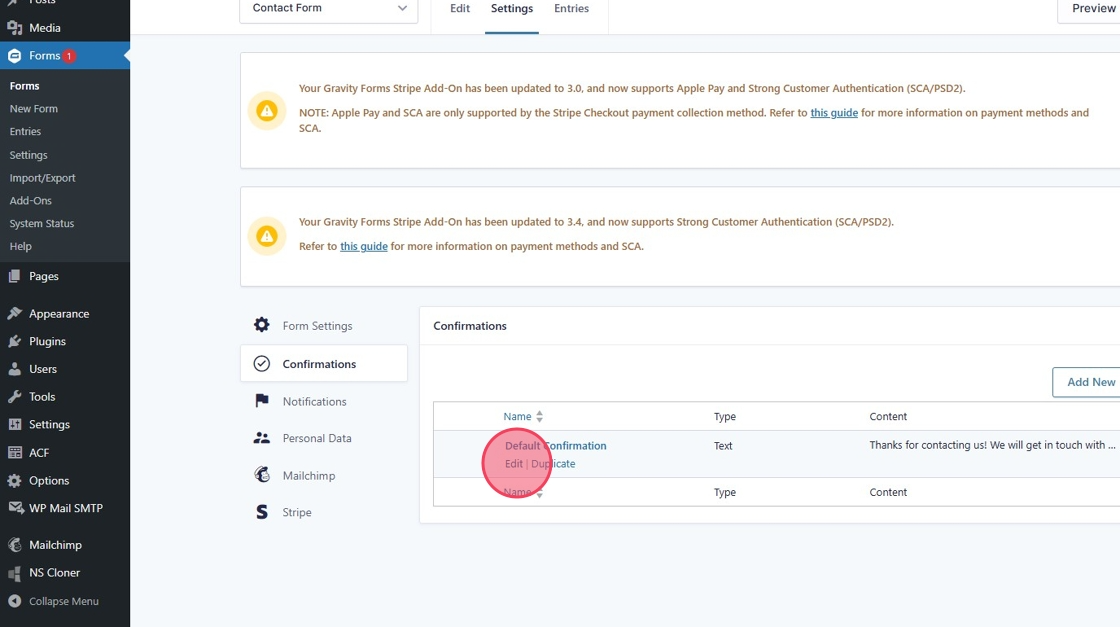
27. Click "Edit" on the default confirmation
28. Add the text you wish to send.

29. Click "Save Confirmation"
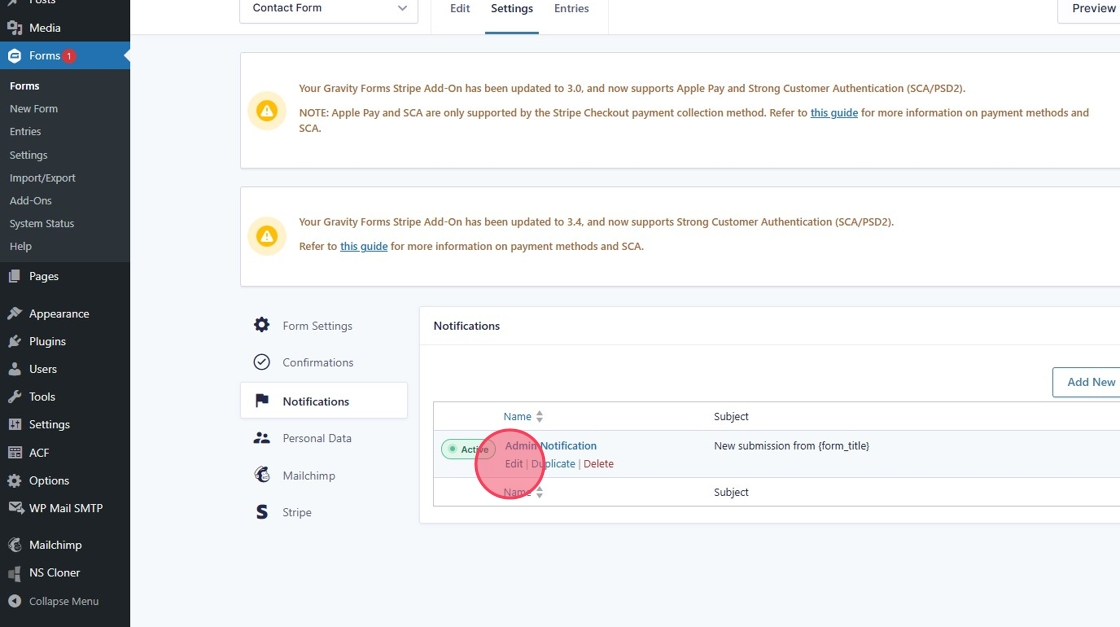
Updating Notification Email Settings
30. Click "Notifications"
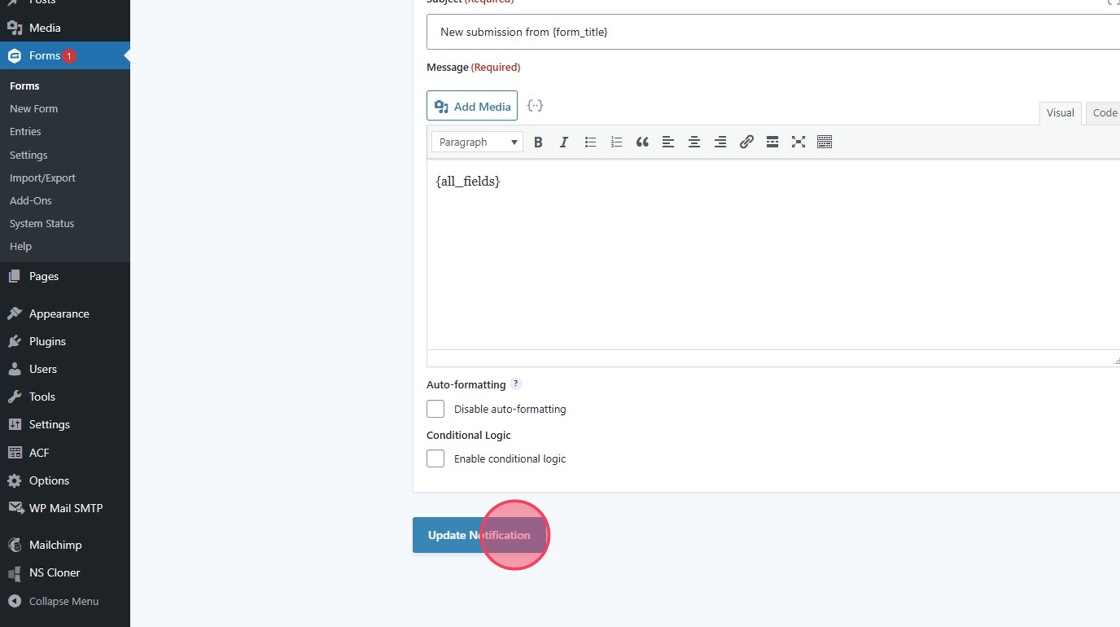
31. Click "Edit"
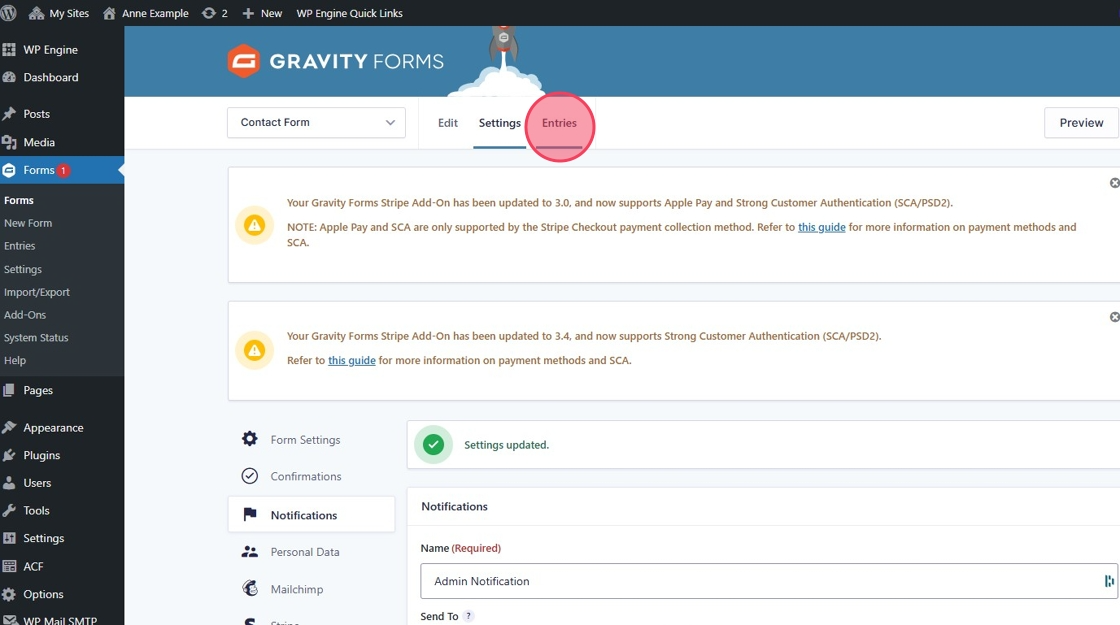
32. Make any necessary changes to admin notification and click "Update Notification"
To View Form Entries
33. Click "Entries"
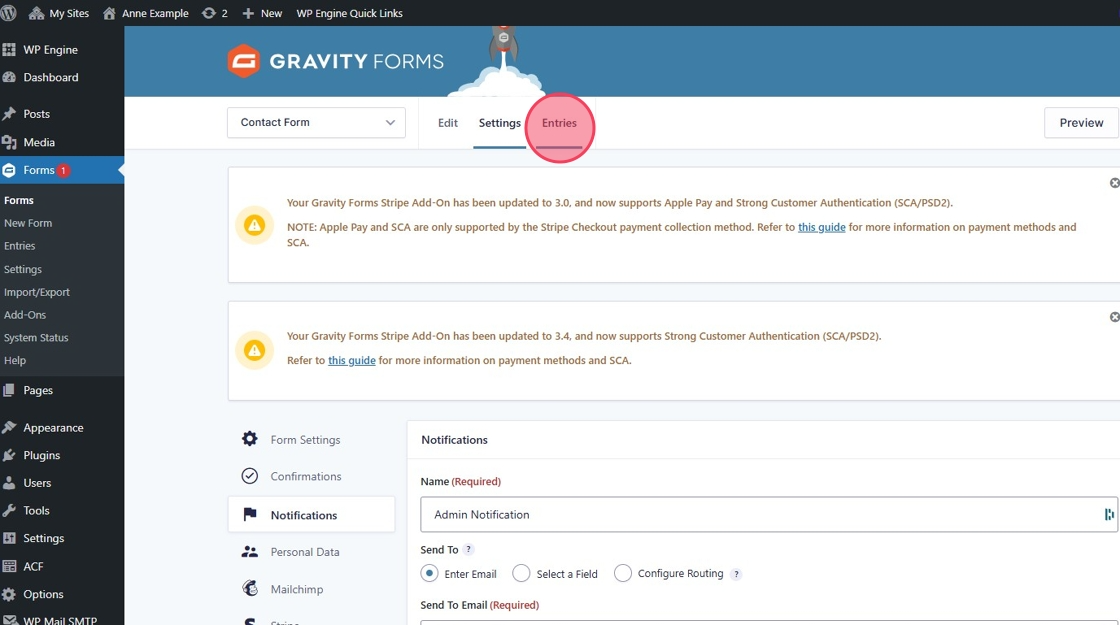
34. Click "Entries"
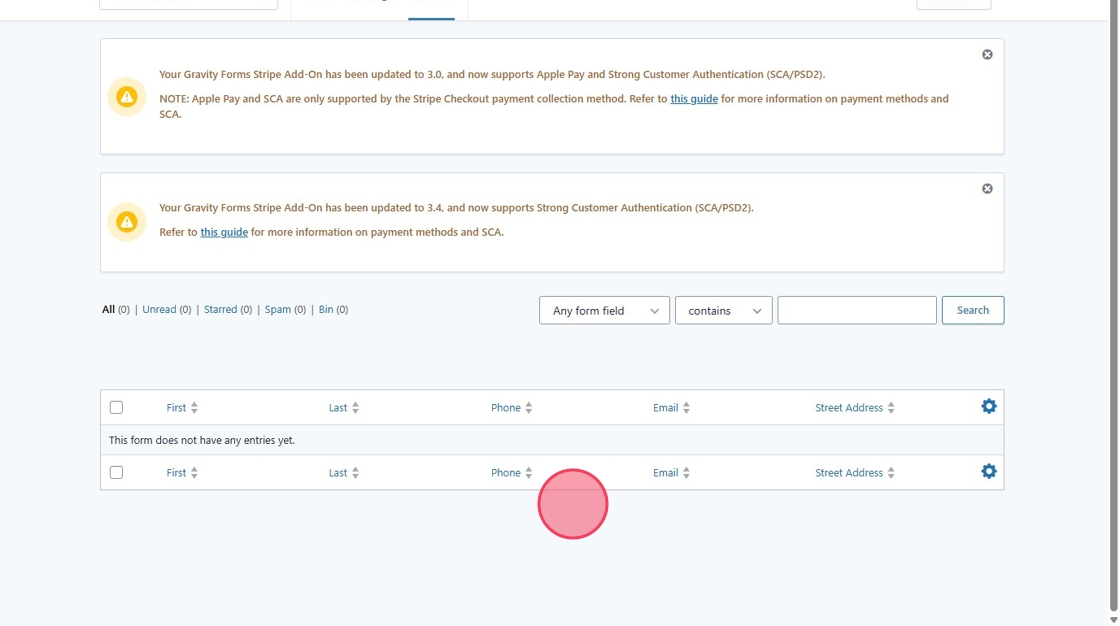
35. Any Entries can be viewed here.
Exporting Form Entries
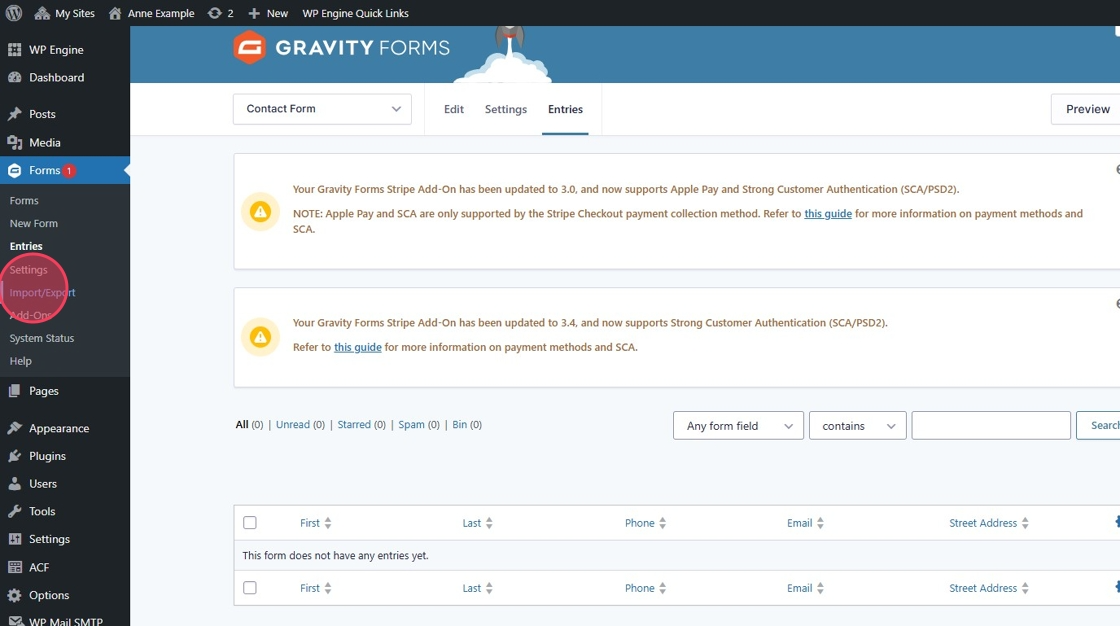
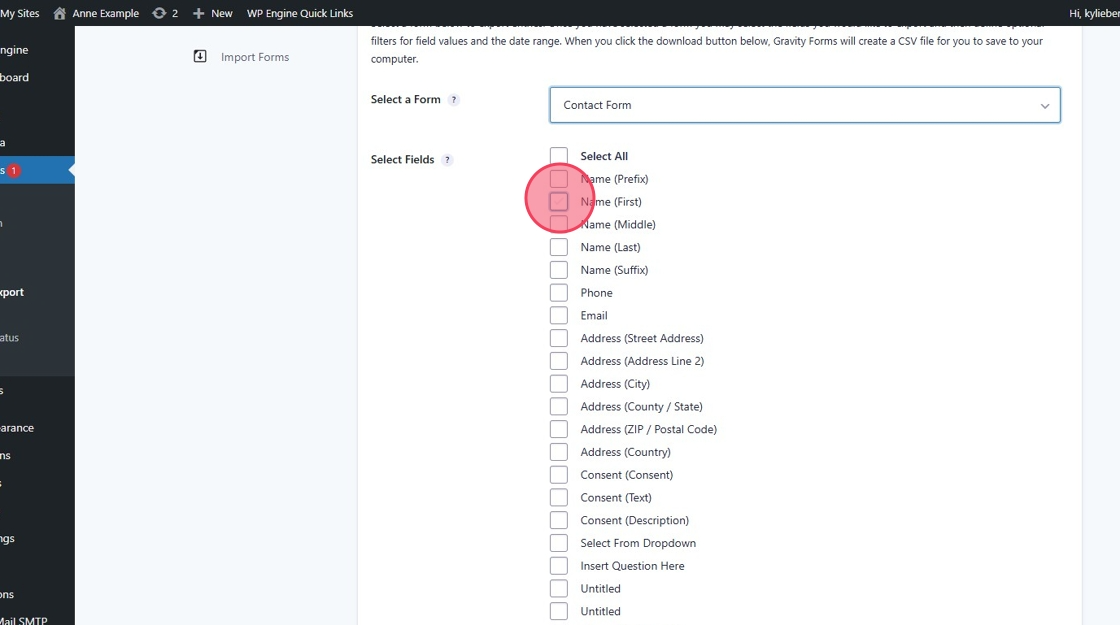
36. In the left hand menu under forms click "Import/Export"
37. Select the form you want to export and select all of the fields you wish to incude in the export.
38. Click this button.
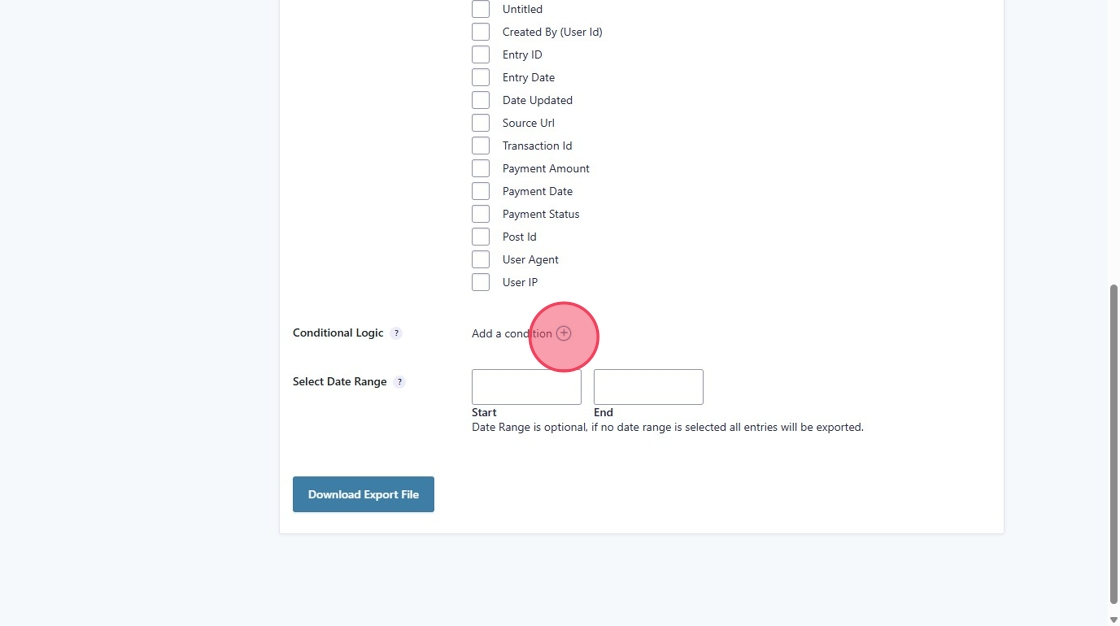
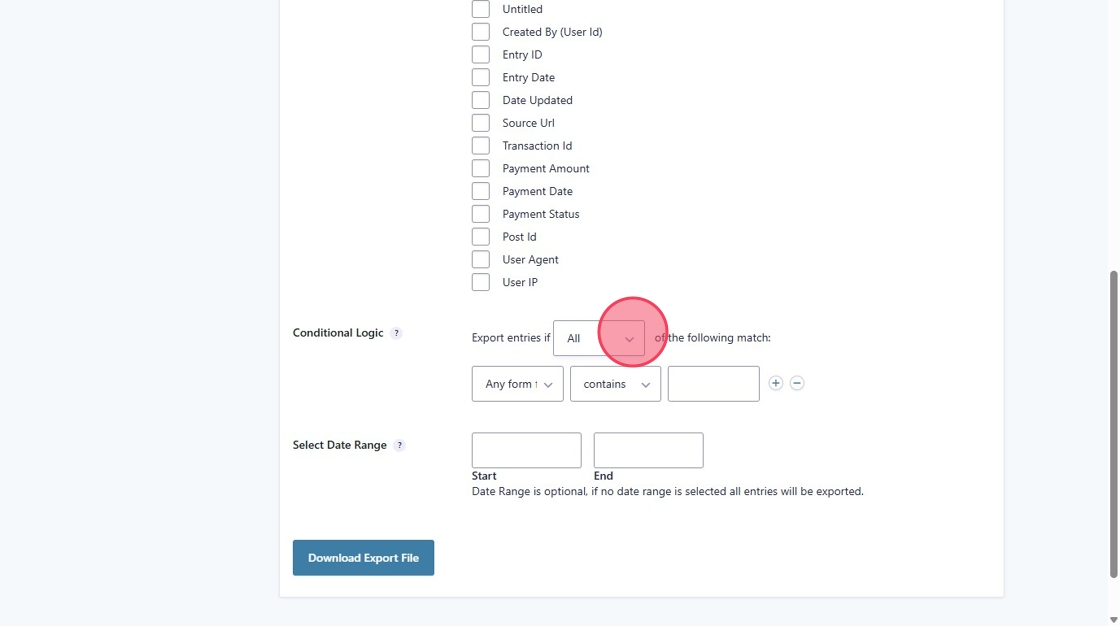
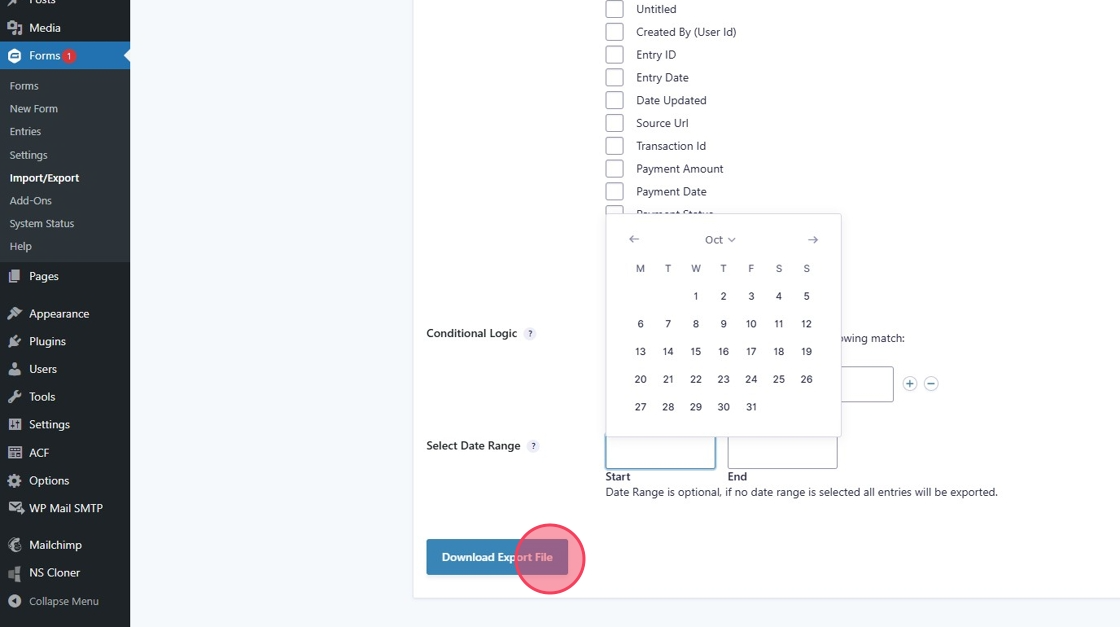
39. Here you can add conditional logic to your export.
40. You can also select the date range of the entries.
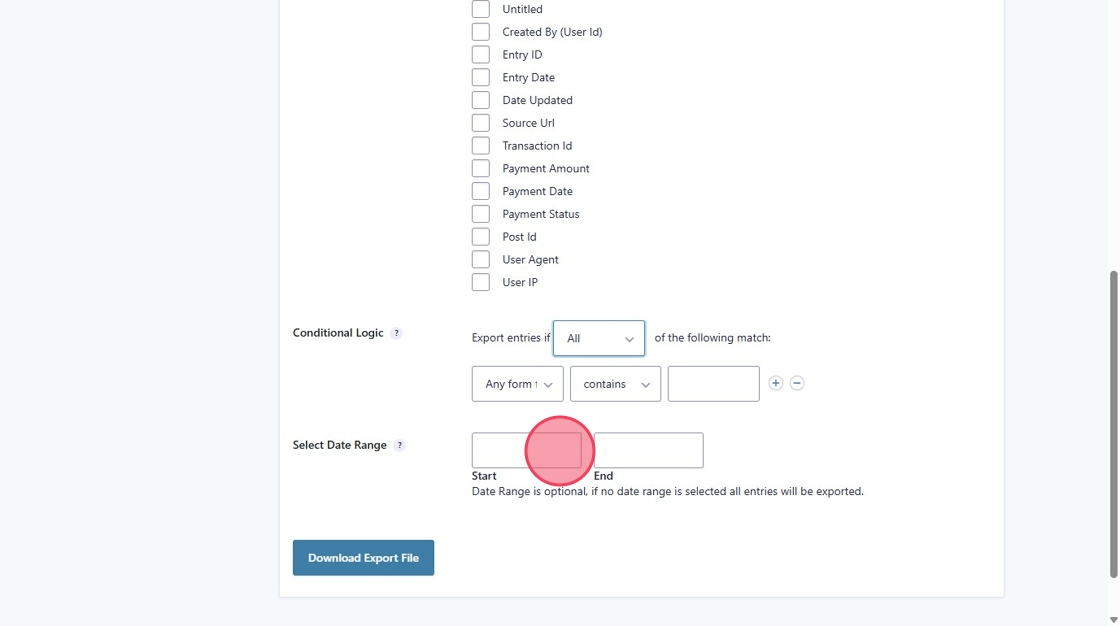
41. Once your have made your selections click "Download Export File". The CSV will then download.
Adding a Form to Your Website
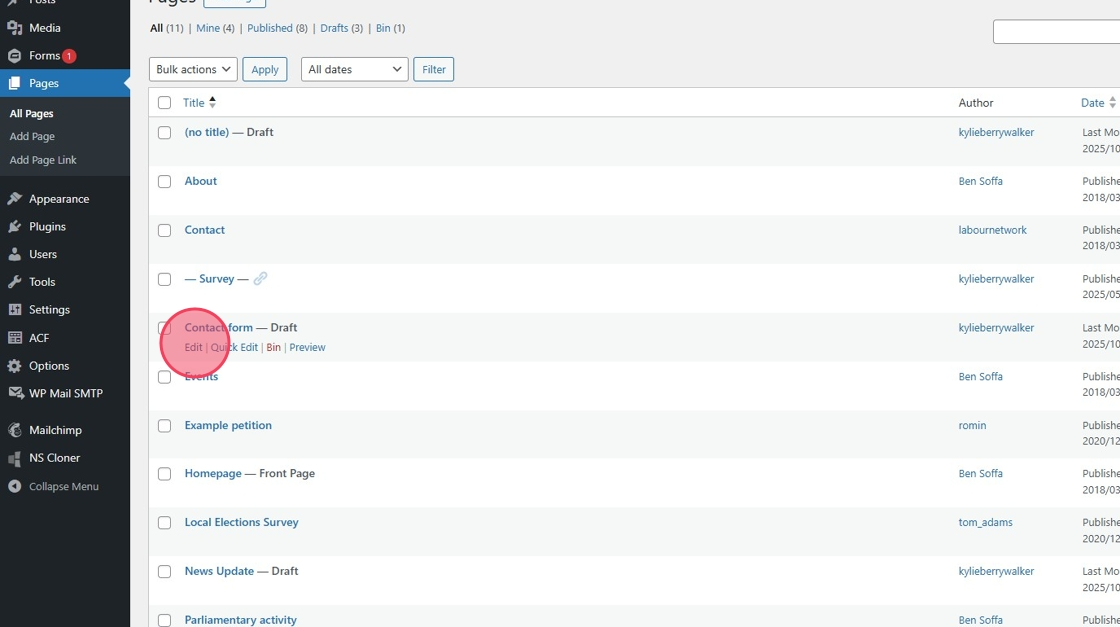
1. Select "Pages" from the left hand menu.

2. Find the page you wish to add the for to and click "Edit," or add a new page.
3. Click "Page content."
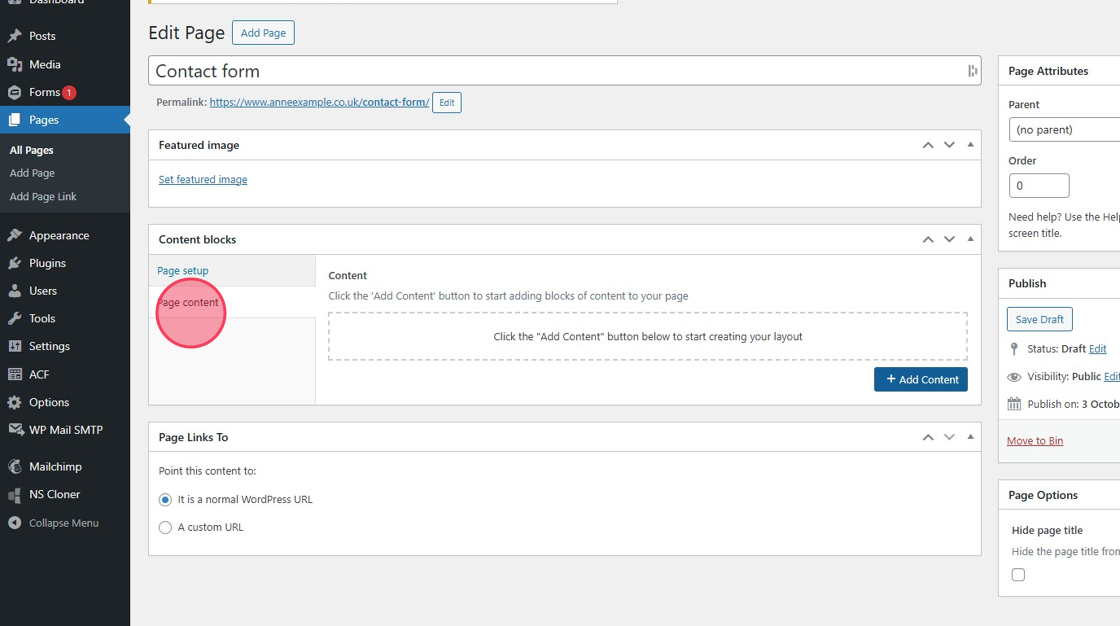
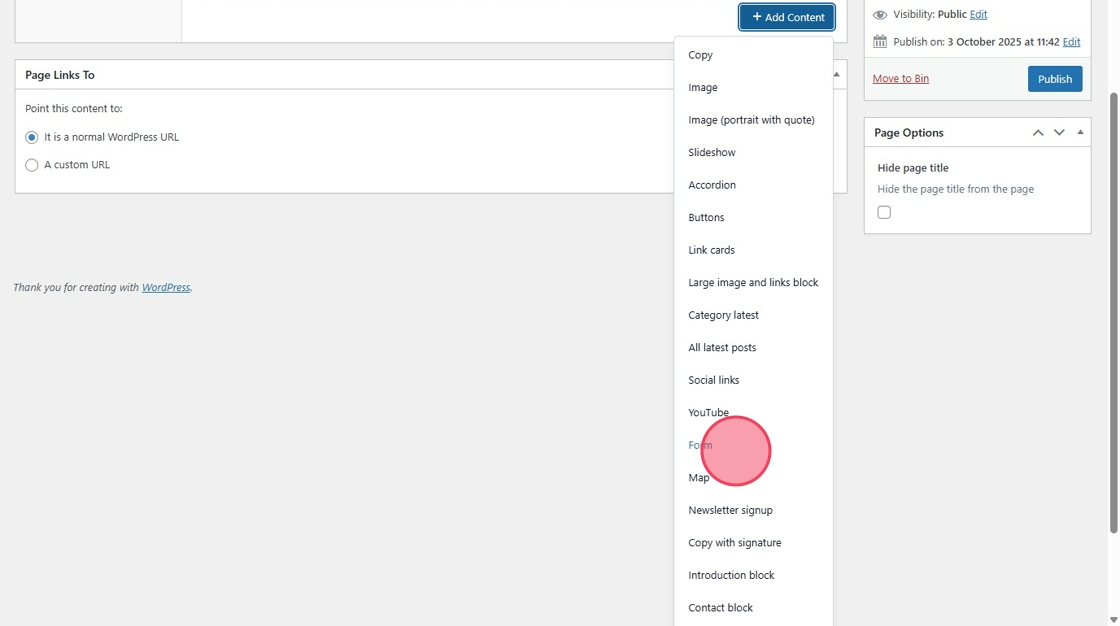
4. Click "Add Content"
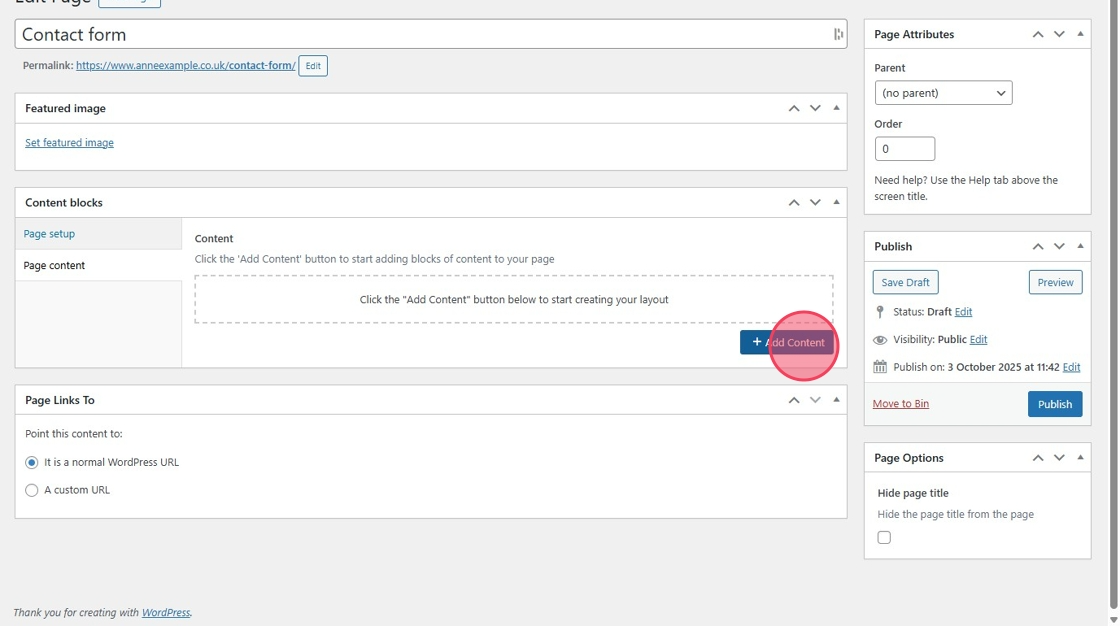
5. From the dropdown select "Form."
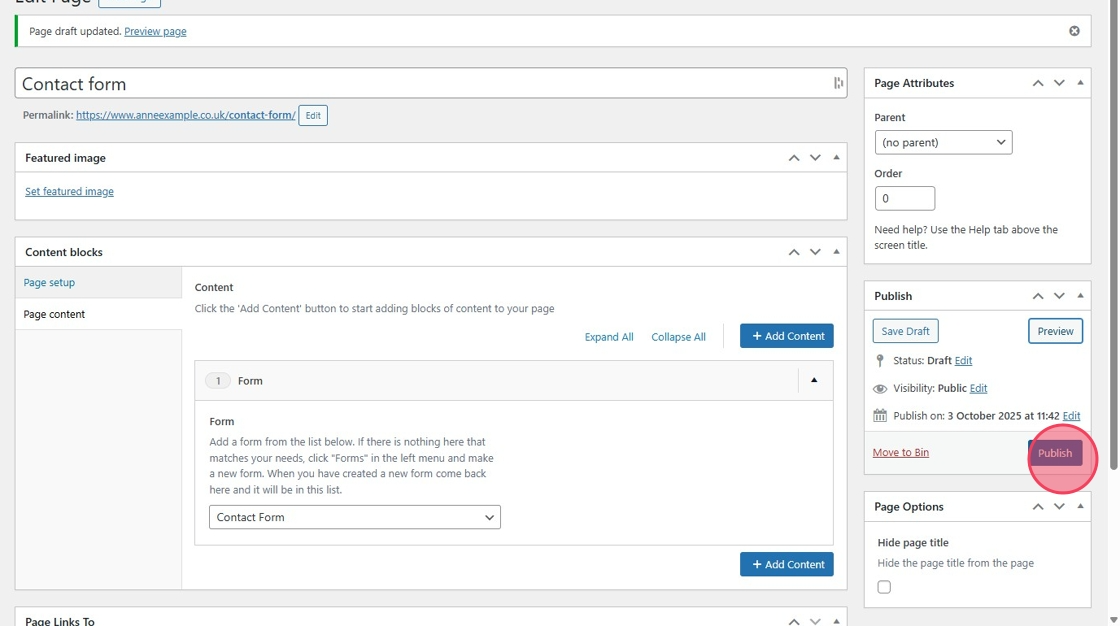
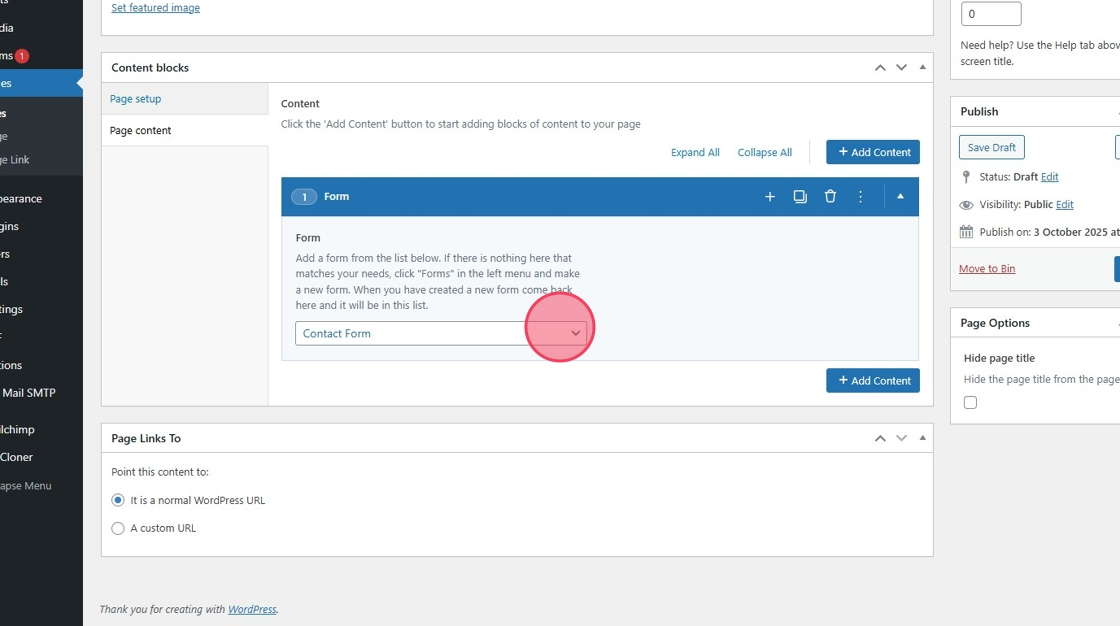
6. Click this dropdown and select the form you wish to use.
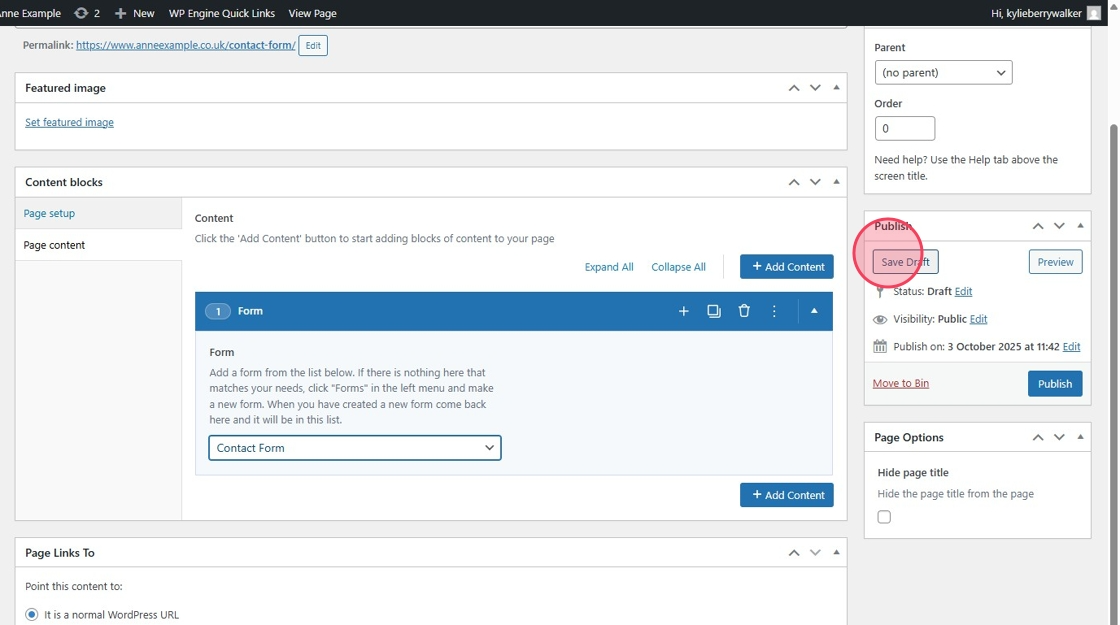
7. Once you are ready click "Save Draft"
8. You can then Preview your form by clicking "Preview (opens in a new tab)," this does not publish it to the site.
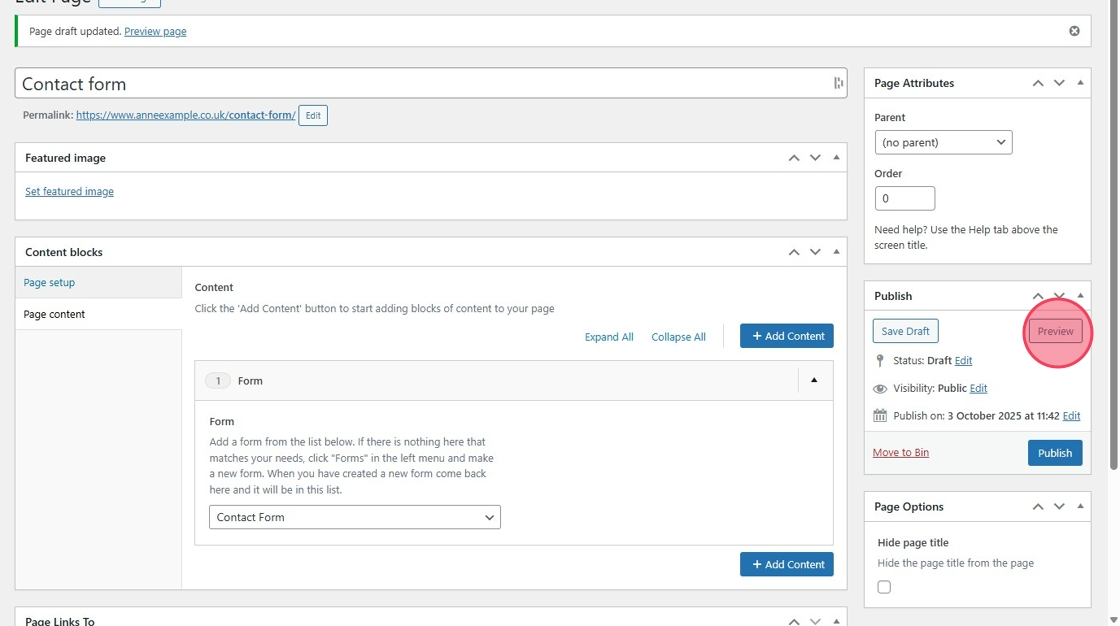
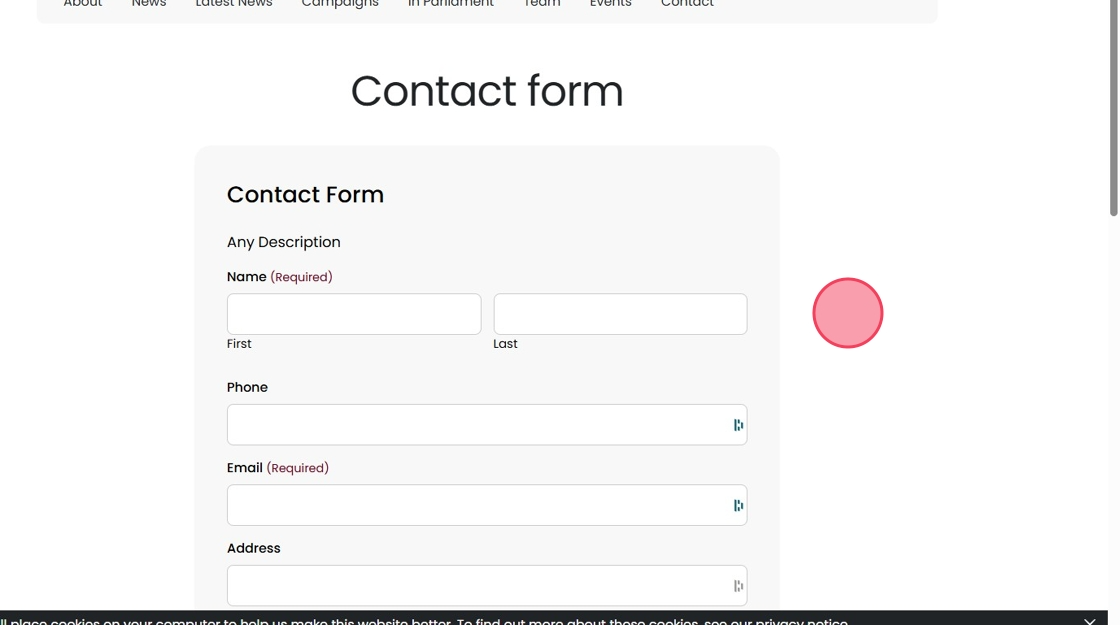
9. You will then see a preview on the site.
10. Once everything looks ok and you are ready for the form to go live click "Publish"